
Beginner-Friendly Recipe
Loaded Chili Cheese Rice Cups
Loaded Chili Cheese Rice Cups is a beginner-friendly shortcut recipe with cozy flavor, flexible swaps, and simple leftovers.
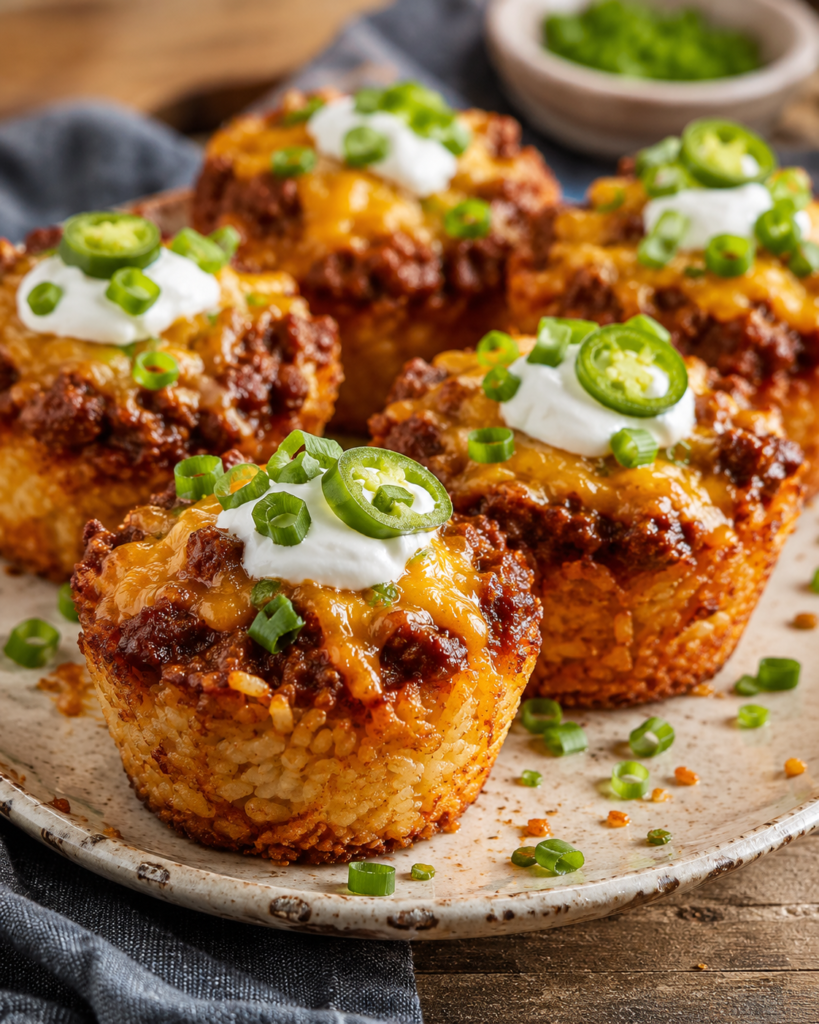
Loaded Chili Cheese Rice Cups turn simple cooked rice and thick chili into crispy, cheesy handheld bites. Each muffin-size rice shell is filled with hearty chili, covered with melted cheddar, and finished with your favorite loaded toppings.
These cups are an easy way to use leftover rice or chili, but they are also worth making from scratch. Serve them as a game-day appetizer, a fun family dinner, or a make-ahead lunch that is much easier to portion than a full bowl of chili.
Mistakenly Smart Note
Cool rice works better than freshly steamed rice because it is less moist and easier to press into sturdy cups. If your rice is still warm, spread it on a baking sheet and let it cool before mixing it with the eggs and cheese.
Quick Answer
To make loaded chili cheese rice cups, combine cooked rice with eggs, shredded cheddar, and seasonings. Press the mixture into a greased muffin pan and bake until the edges begin to crisp. Fill the cups with thick chili, add more cheese, and return them to the oven until hot and melted.
Ingredients Overview
The complete measurements are included in the recipe card below. Here is what you will need and why each part matters:
- Cooked rice: Forms the base and sides of each individual cup. Cooled long-grain white rice is especially easy to shape.
- Eggs: Bind the grains together so the baked cups hold their shape.
- Cheddar cheese: Adds flavor while helping the rice shells become firm and lightly crisp.
- Seasonings: Garlic powder and smoked paprika give the rice more savory flavor.
- Thick chili: Use beef, turkey, chicken, or vegetarian chili. A thick chili stays inside the cups better than a soupy one.
- Loaded toppings: Sour cream, green onions, jalapenos, tomatoes, cilantro, or avocado make the finished cups colorful and customizable.
Why This Recipe Works
The rice becomes an edible bowl
Mixing the rice with eggs and cheese creates a flexible mixture that can be pressed into a muffin pan. The first bake sets the shape and gives the exposed edges a lightly toasted texture.
The filling is already cooked
Because the chili is fully cooked before it goes into the cups, the second bake only needs to heat the filling and melt the cheese. This helps prevent the rice shells from becoming overly dry.
Every serving gets crispy edges
A traditional chili-and-rice casserole has a soft center and only a few crisp edges. Baking individual portions gives every cup its own golden rim.
The toppings can be personalized
Set out several toppings and let everyone finish their own cups. Mild toppings work well for children, while jalapenos, hot sauce, and pepper jack cheese can add extra heat for adults.
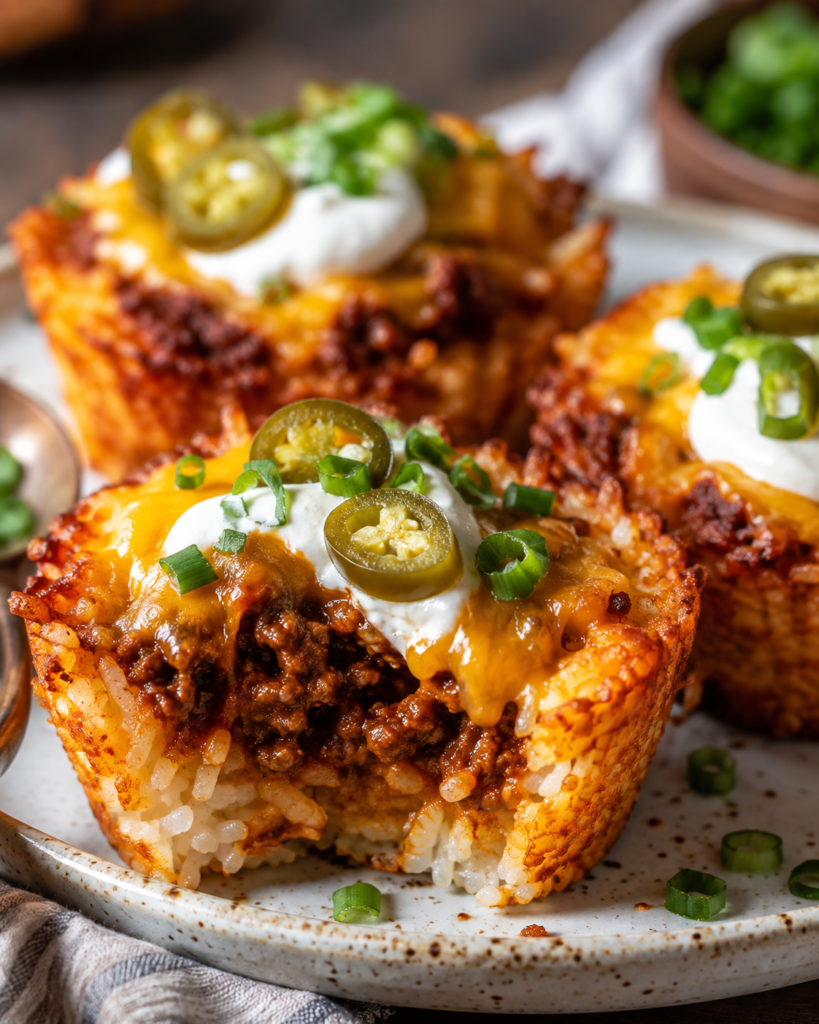
Tips for the Best Chili Cheese Rice Cups
Use cool, slightly sticky rice
Rice that has been refrigerated is easy to handle and gives the egg and cheese mixture something to grip. Very dry rice may need to be broken apart thoroughly before mixing.
Choose a thick chili
Excess liquid can soften the bottom of the cups. If your chili is thin, simmer it uncovered for a few minutes or spoon off some of the liquid before filling the rice shells.
Grease the muffin pan thoroughly
Coat the bottom and sides of every cavity, including the upper edges. Cheese can stick firmly to an ungreased pan.
Press the rice firmly
Use the back of a spoon, a small measuring cup, or clean damp fingers to compact the rice across the bottom and up the sides. Check for thin spots before baking.
Let the cups rest before removing them
A short cooling period allows the cheese and egg binder to firm up. Loosen each cup gently with a thin spatula or butter knife before lifting it from the pan.
Meal Ideas and Easy Swaps
Turn them into a game-day appetizer
Arrange the cups on a platter with small bowls of sour cream, sliced green onions, diced tomatoes, jalapenos, and hot sauce. Guests can add their preferred toppings just before eating.
Serve them for dinner
Pair two or three cups with a simple green salad, roasted vegetables, corn salad, or fresh fruit for an easy meal.
Use a different chili
Classic beef chili produces a rich filling, while turkey or chicken chili makes a lighter variation. Black bean, lentil, or three-bean chili can be used for a meatless version.
Change the cheese
Sharp cheddar provides familiar chili flavor. Monterey Jack melts smoothly, pepper jack adds heat, and a Mexican-style cheese blend is an easy shortcut.
Make mini appetizer cups
The same idea can be adapted to a mini muffin pan. Use smaller portions, watch them closely, and shorten both baking stages because the little cups will cook more quickly.
How This Recipe Comes Together
The recipe begins with a seasoned mixture of cooked rice, eggs, and cheddar. This mixture is divided among the cavities of a muffin pan and pressed firmly against the bottom and sides.
The empty rice shells bake first so they can set before the filling is added. Once the edges look lightly golden, each shell receives a spoonful of thick chili and a layer of shredded cheese.
A final trip to the oven heats the centers and melts the cheese. After the cups have rested briefly, they can be removed from the pan and topped just before serving.
Storage and Reheating
Refrigerating
Let leftover cups cool briefly, then transfer them to a covered container and refrigerate them within two hours. Keep cold toppings in a separate container so the rice shells do not become soggy.
Freezing
Freeze the baked cups without sour cream, tomatoes, avocado, or other fresh toppings. Place them on a tray until firm, then transfer them to a freezer-safe container. For the best texture, use them within two months.
Oven reheating
Place the cups in a muffin pan or on a small baking sheet and warm them in a 350-degree-F oven until the centers are hot. Cover loosely with foil if the cheese begins to brown too quickly.
Air-fryer reheating
Reheat the cups at 325 degrees F until hot and lightly crisp. Check them early because air-fryer models heat at different rates.
Microwave reheating
The microwave is convenient, although the rice will be softer. Cover the cup and heat it in short intervals until it is hot throughout.
Food Safety Note
Refrigerate the cooked cups within two hours and use refrigerated leftovers within three to four days. Reheat leftovers to an internal temperature of 165 degrees F. If the chili contains meat, make sure it was fully cooked before it was used to fill the rice cups.
Helpful Recipe Resources
Trusted Food, Cooking, and Recipe References
Mistakenly Delicious uses AI-assisted workflows, but useful recipes still need common sense, food safety checks, and reliable cooking references. These resources can help with ingredients, nutrition, safe temperatures, and the AI workflow behind this site.
Ingredient Data
USDA FoodData Central
A useful reference for checking ingredient and nutrition data when reviewing recipes.
Visit Resource →Cooking Help
Nutrition.gov Cooking Tips
Beginner-friendly guidance for meal prep, cooking basics, shopping, and planning.
Visit Resource →Food Safety
Safe Cooking Temperatures
A helpful food safety chart for checking safe internal temperatures for chicken, meat, seafood, and leftovers.
Visit Resource →Creator Workflow
TechnofluxAI
The AI workflow and creator systems site behind Mistakenly Delicious.
Visit TechnofluxAI →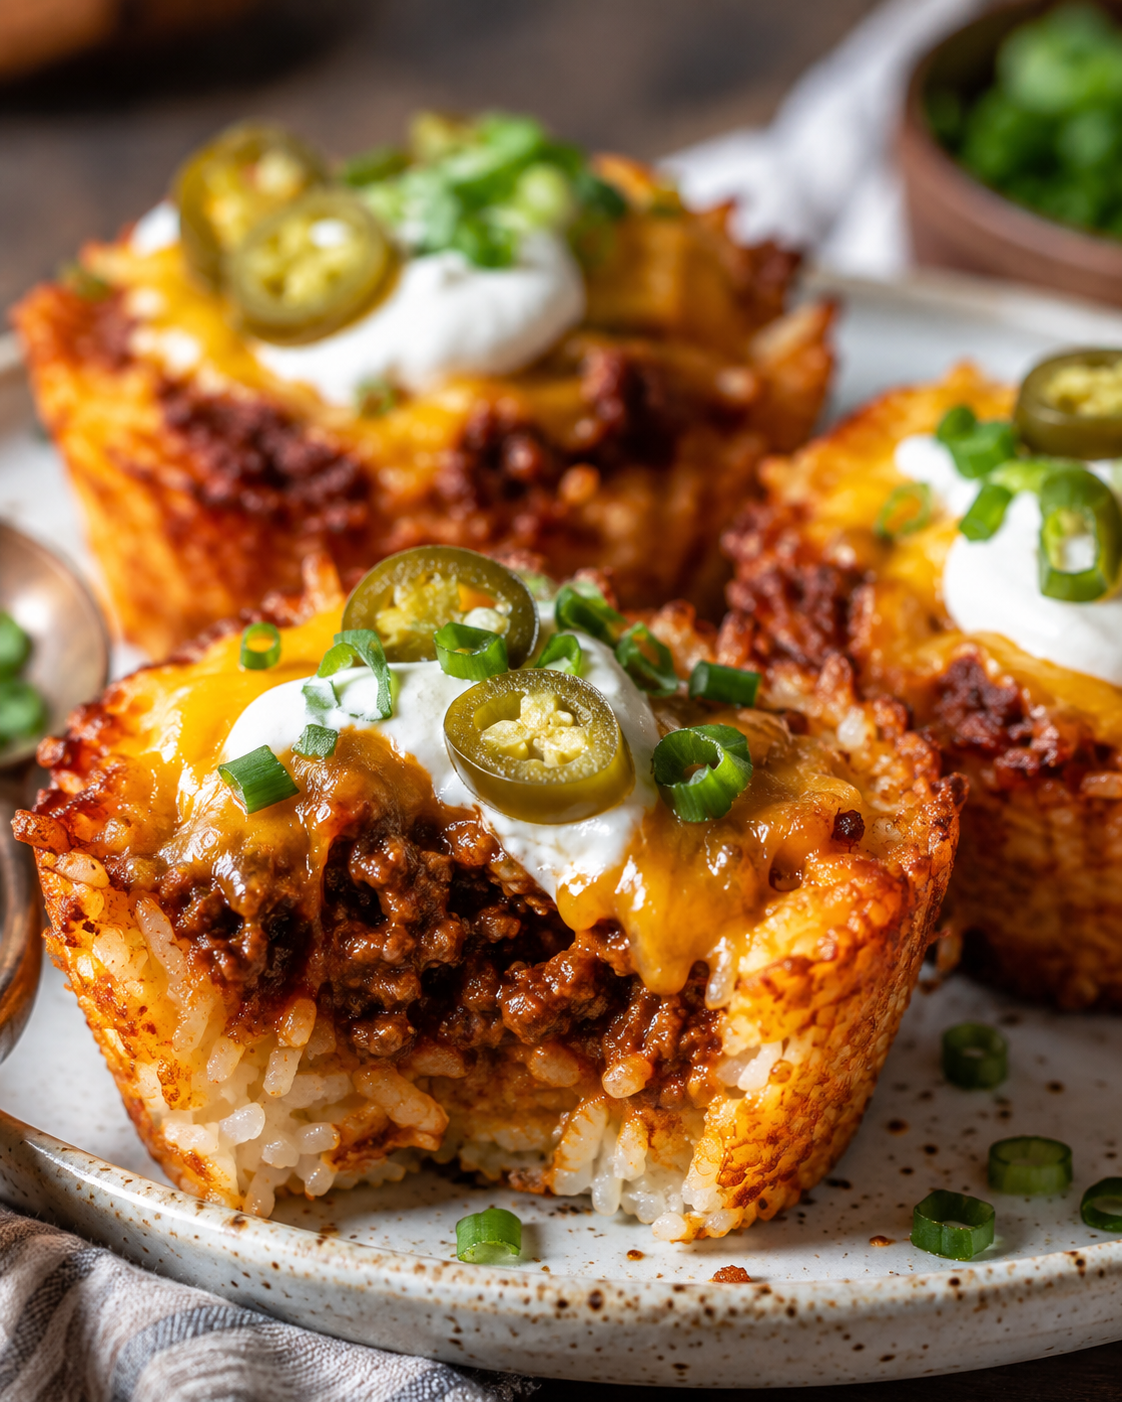
Loaded Chili Cheese Rice Cups
Method
- Preheat the oven to 400 degrees F. Coat the bottom and sides of a standard 12-cup muffin pan generously with nonstick cooking spray.
- Place the cooled rice in a large mixing bowl. Break apart any firm clumps with a spoon or clean fingers.
- Add the beaten eggs, 1 cup shredded cheddar, garlic powder, smoked paprika, and salt. Stir until the rice is evenly coated and the cheese is well distributed.
- Divide the rice mixture evenly among the 12 muffin cavities, using approximately 1/4 cup for each one.
- Press the rice firmly across the bottom and up the sides of each cavity to form a cup. Keep the base compact and check the sides for thin or open spots.
- Bake the empty rice cups for 15 to 18 minutes, or until they are set and the upper edges are lightly golden.
- Remove the pan from the oven. If the centers have puffed, press them down gently with the back of a spoon.
- Spoon approximately 2 tablespoons of thick chili into each rice cup. Avoid overfilling the cups or allowing chili to spill between the rice shell and the pan.
- Sprinkle the remaining 1/2 cup cheddar evenly over the filled cups.
- Return the pan to the oven and bake for 7 to 9 minutes, or until the chili is hot and the cheese is completely melted.
- Let the cups rest in the pan for 5 minutes. Run a thin spatula or butter knife carefully around the edge of each cup, then lift it from the pan.
- Add sour cream, green onions, jalapenos, tomatoes, cilantro, avocado, or hot sauce immediately before serving.
Notes
Brown rice can be substituted, but the texture may be slightly looser. Press it especially firmly into the pan.
Do not add cold toppings until after the cups have been baked and removed from the pan.
A silicone muffin pan can make removal easier, although the rice edges may not brown as deeply.
For extra-crisp edges, lightly mist the exposed rice with cooking spray before the first bake.
Nutrition information will vary significantly depending on the chili, cheese, and toppings used.
Estimated Nutrition
Calories: 185
Carbohydrates: 20 g
Protein: 8 g
Fat: 8 g
Saturated Fat: 4 g
Fiber: 2 g
Sugar: 2 g
Sodium: 430 mg
Tried this recipe?
Let us know how it was!Nutrition Information Disclaimer
Nutrition information is provided as an estimate only and may vary based on the ingredients, brands, portion sizes, substitutions, and preparation methods used. Optional toppings and serving suggestions may not be included in the calculation. For the most accurate information, calculate nutrition using the specific ingredients and amounts you use.
Allergy notice: Always check ingredient labels and avoid substitutions that may introduce allergens. This recipe has not been verified as allergen-free.
Common Mistakes to Avoid
Using hot, wet rice
Freshly cooked rice can release steam and extra moisture into the mixture. Let it cool before shaping the cups so the shells can set more firmly.
Adding thin chili
A watery filling can soak into the rice and make removal difficult. Use the thickest portion of the chili or reduce it before filling the cups.
Making the rice walls too thin
Thin sides may crack when the cups are lifted. Press an even layer around every cavity and reinforce any visible gaps.
Skipping the first bake
The rice shells need time to set before the chili is added. Filling them immediately can leave the bottoms soft and fragile.
Removing the cups immediately
The cups are most delicate when they first leave the oven. Let them rest for several minutes, loosen the edges, and lift them carefully.
Adding fresh toppings before baking
Sour cream, avocado, tomatoes, and cilantro are best added after baking. Heating them can affect their color, flavor, and texture.
Frequently Asked Questions
Can I make loaded chili cheese rice cups ahead of time?
Yes. Bake and fill the cups, let them cool, and refrigerate them in a covered container. Reheat them without the fresh toppings and decorate them immediately before serving.
Can I use leftover takeout rice?
Yes, provided it was refrigerated promptly and is still within its safe storage period. Break apart any cold clumps before adding the eggs and cheese.
Does the chili need to be warm?
It can be cold or slightly warm, but very cold chili may extend the final heating time. The center of every cup should be thoroughly hot before serving.
Can I use canned chili?
Yes. Choose a thick canned chili and drain or simmer off excess liquid when necessary. Both chili with beans and no-bean chili can work.
Can I make these vegetarian?
Use your favorite bean, lentil, or plant-based chili. Confirm that any cheese or toppings you use also meet your dietary preferences.
Can I make the cups without eggs?
The eggs provide important structure. A commercial liquid egg substitute designed for cooking may work, but the cups could be more delicate. Egg-free versions generally require a separate binder and should be tested before serving to guests.
Can I use brown rice?
Yes. Brown rice produces a slightly heartier texture. Because the grains may not cling together as readily, compact the mixture firmly and allow the cups to cool before removing them.
How do I keep the cups from sticking?
Use a well-greased nonstick or silicone muffin pan. Loosen the full edge of each cup with a thin utensil before lifting it out.
What should I serve with chili cheese rice cups?
They pair well with salad, coleslaw, roasted vegetables, corn, guacamole, salsa, fresh fruit, or a tray of raw vegetables and dip.
Final Notes
Loaded Chili Cheese Rice Cups combine several comfort-food favorites in a fun, portioned format. The crispy rice edges, warm chili, and melted cheddar make them satisfying even before the toppings are added.
Keep the basic rice shell the same and change the chili, cheese, and garnishes to suit the occasion. A mild beef-and-cheddar version works well for family dinner, while pepper jack, jalapenos, and hot sauce can turn the same recipe into a spicy party appetizer.
Trusted Resources
Mistakenly Delicious Kitchen Picks
Helpful Kitchen Tools for Easier Cooking
These beginner-friendly guides and kitchen picks can make cooking, baking, food-safety checks, and meal prep easier.
Affiliate disclosure: This section contains Amazon affiliate links. As an Amazon Associate, I earn from qualifying purchases at no additional cost to you.
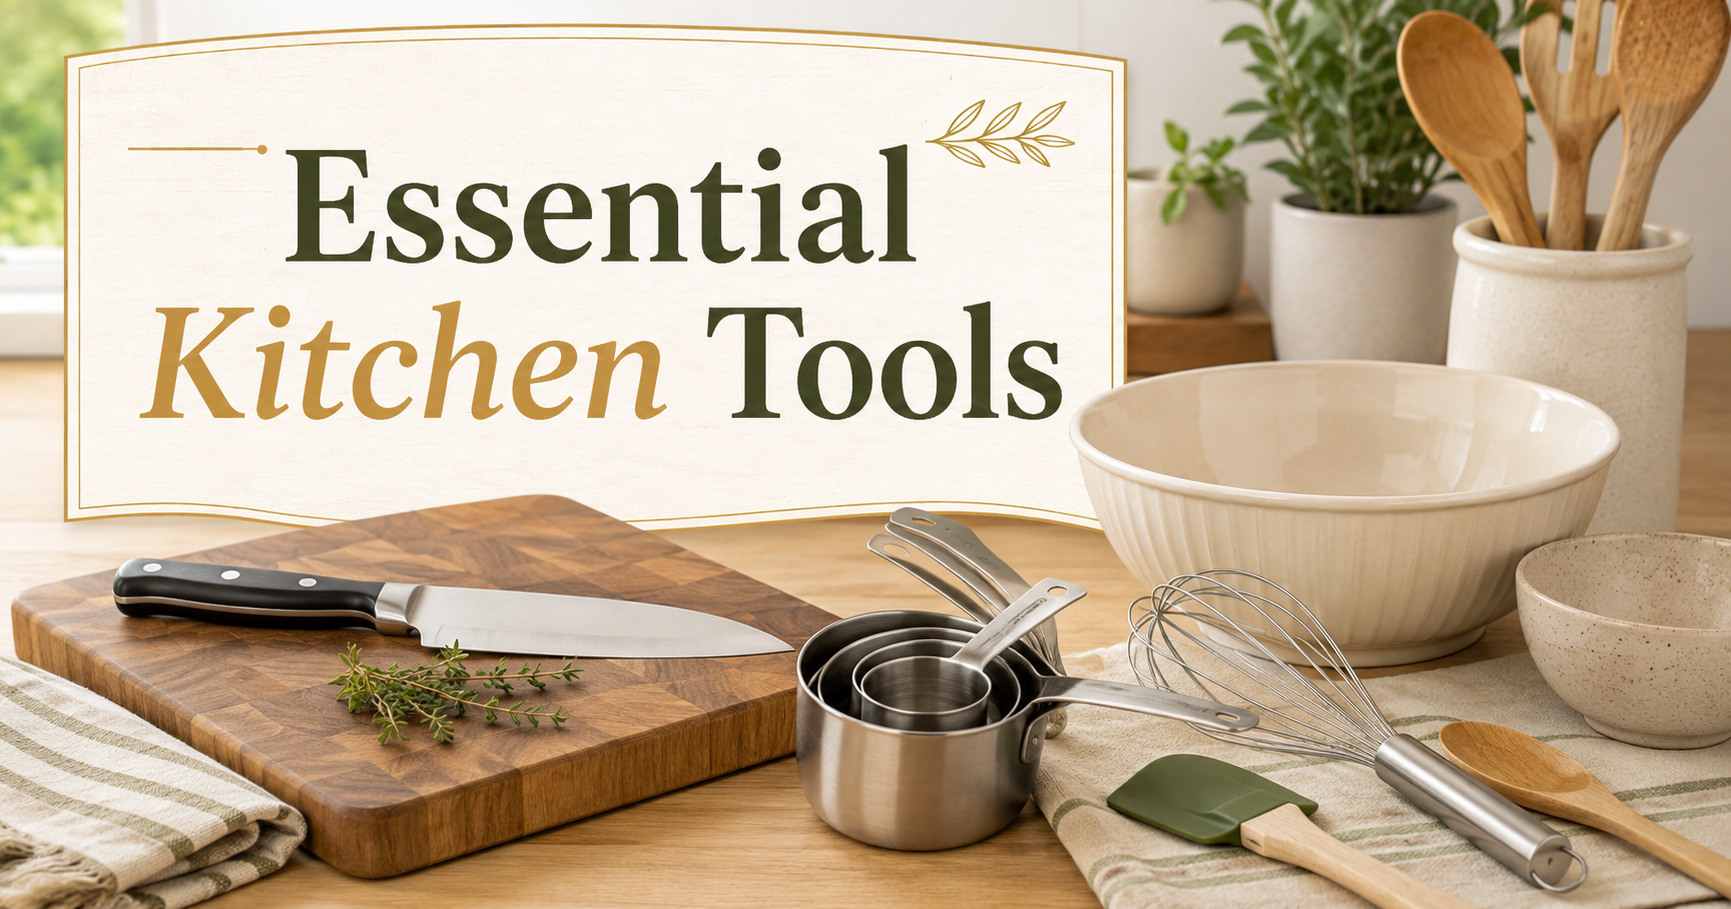
Essential Kitchen Tools for Beginner Cooks
Start with practical everyday tools instead of filling your kitchen with gadgets you may rarely use.

Best Affordable Meat Thermometers
Check chicken, burgers, roasts, and other foods without guessing whether the center is fully cooked.
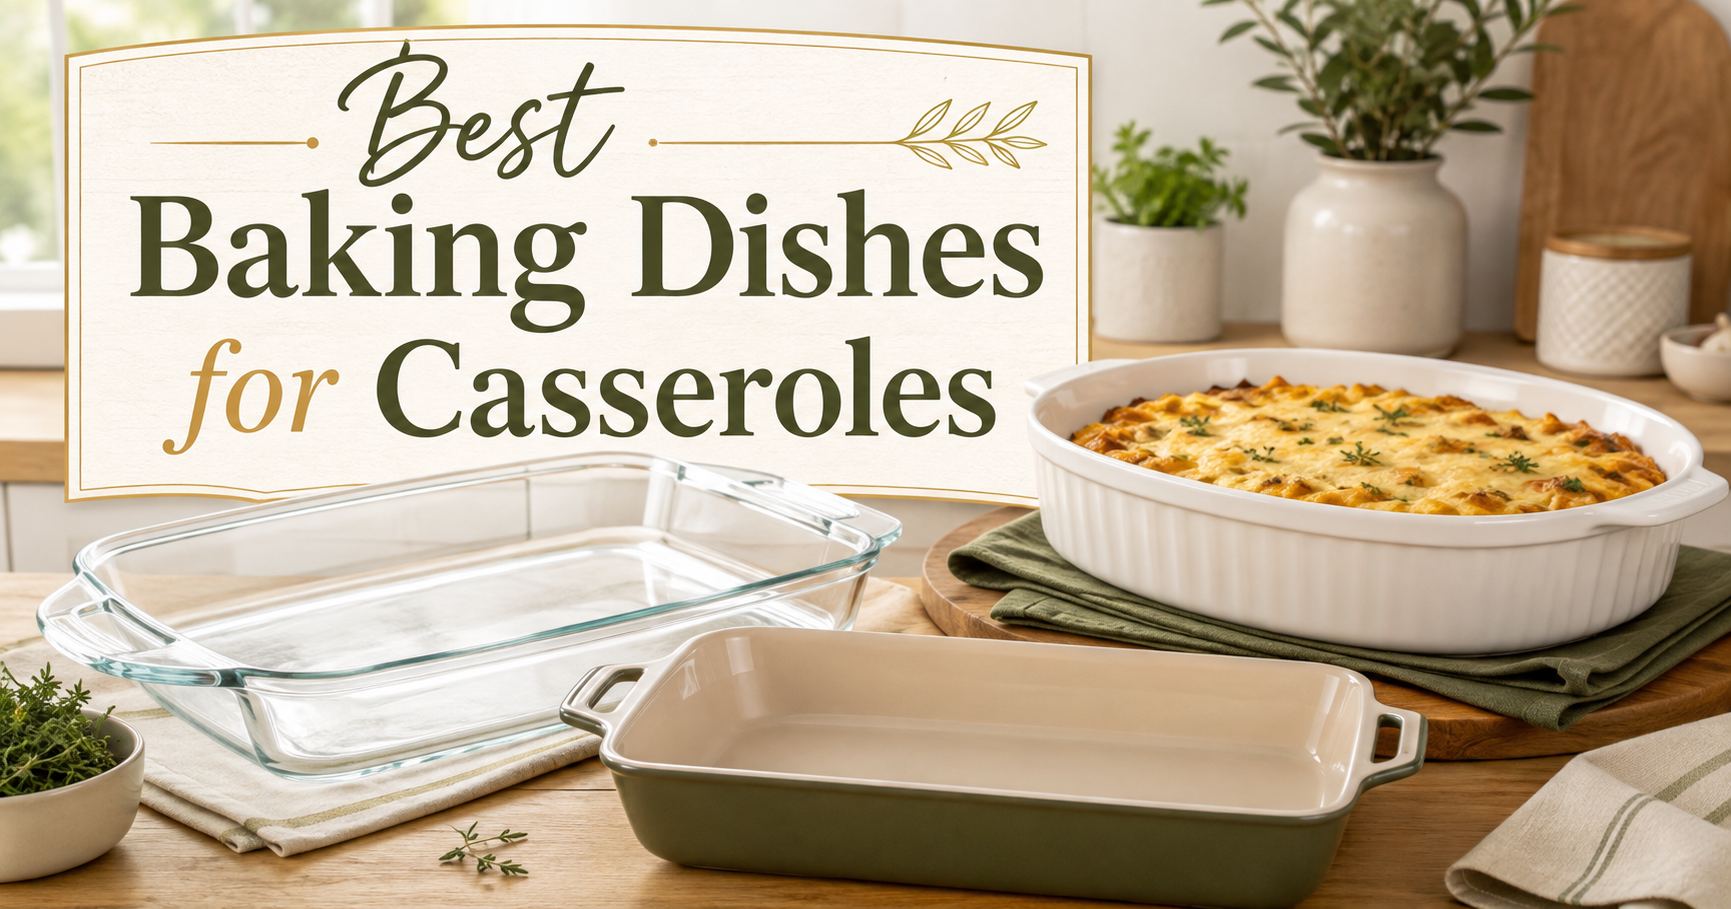
Best Baking Dishes for Casseroles
Compare dependable baking dishes for casseroles, rice bakes, biscuit bakes, desserts, and family meals.
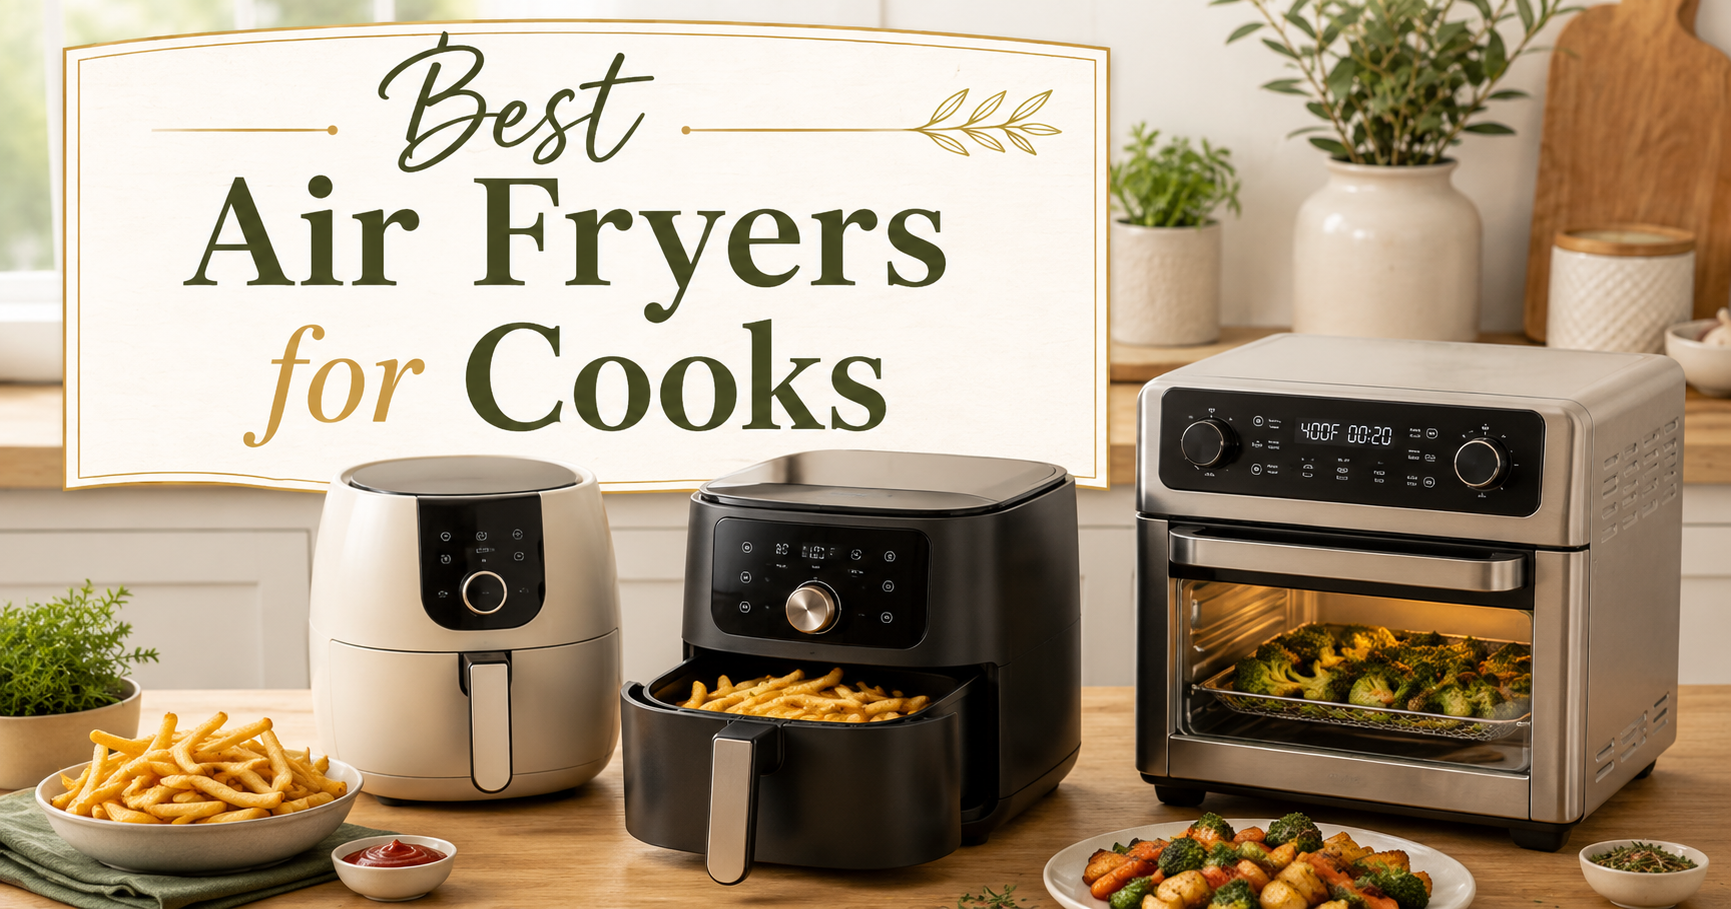
Best Air Fryers for Beginner Cooks
Find a beginner-friendly air fryer for crispy foods, quick dinners, reheating leftovers, and smaller meals.
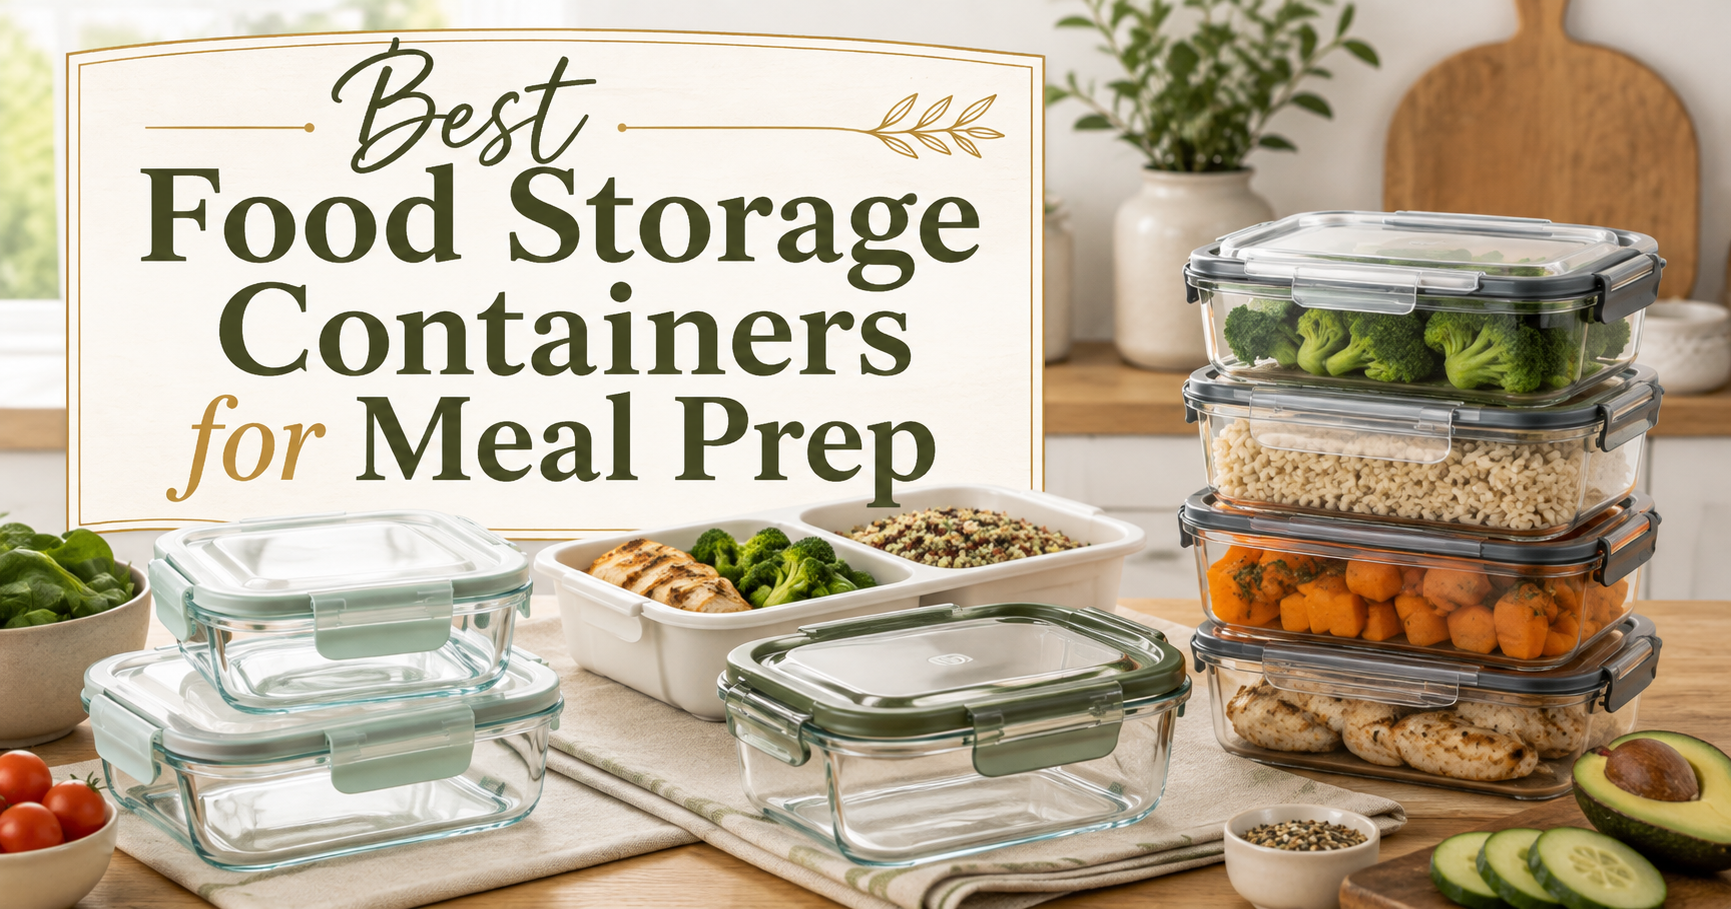
Best Food Storage Containers for Meal Prep
Store leftovers, lunches, freezer meals, and weekly meal-prep portions more neatly.

Featured Kitchen Pick
Explore another practical kitchen pick that can make everyday cooking and food preparation easier.