
Beginner-Friendly Recipe
No-Knead Dutch Oven Bread
A practical, beginner-friendly no-knead dutch oven bread recipe with clear steps, useful substitutions, and dependable storage tips.
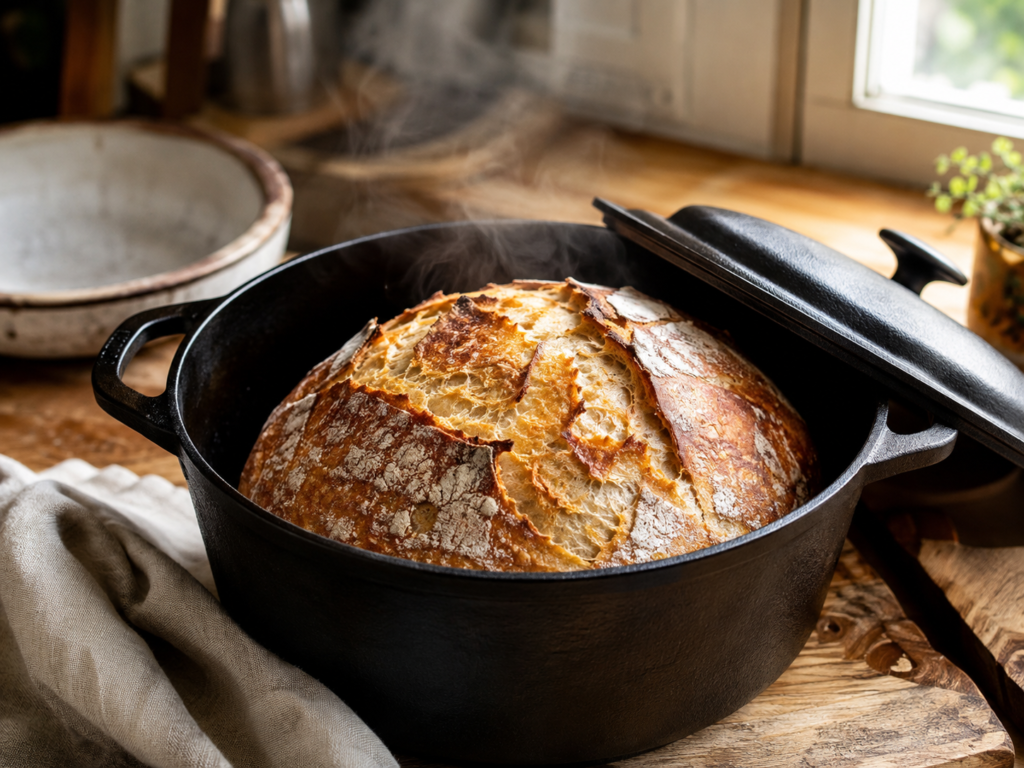
There is something especially satisfying about pulling a deeply golden loaf of bread from a Dutch oven, especially when the dough required almost no hands-on work. This No-Knead Dutch Oven Bread gives you a crisp, rustic crust and a soft, chewy center using just four basic ingredients.
The secret is time instead of kneading. A slow overnight rise lets the dough develop flavor and structure while you sleep, and the covered Dutch oven traps steam around the loaf as it bakes. The result looks like bakery-style artisan bread without complicated bread-making techniques.
Mistakenly Smart Note
No-knead bread is supposed to have a soft, sticky dough. Resist the temptation to keep adding flour until it feels like traditional sandwich-bread dough. A wetter dough helps create the irregular holes and chewy texture that make rustic bread so good.
Quick Answer
No-Knead Dutch Oven Bread is an easy homemade bread made from flour, water, yeast, and salt. Mix the dough, let it rise slowly overnight, gently shape it, and bake it in a very hot covered Dutch oven. Removing the lid near the end of baking allows the crust to become crisp and deeply golden.
Jump to the printable recipe and shopping list.
Ingredients Overview
You only need four pantry staples for this loaf: bread flour, water, salt, and a small amount of instant yeast.
Bread flour provides enough structure for a chewy loaf with a nicely developed crust. All-purpose flour can work as a substitution, although the final texture may be slightly softer.
Water hydrates the flour and creates the loose, sticky dough needed for the long fermentation.
Instant yeast does the rising. Because the dough rests for many hours, only a small amount is necessary.
Salt is essential for flavor and helps balance the finished loaf.
Why This Recipe Works
Time Does the Work Instead of Kneading
The long rise gives the flour plenty of time to hydrate and the dough time to develop structure. That means you can get an artisan-style texture without standing at the counter kneading dough.
The Dutch Oven Creates Its Own Steamy Environment
Baking the loaf inside a covered Dutch oven helps hold moisture around the dough during the first part of baking. That moisture delays crust formation long enough for the loaf to expand before the exterior becomes firm.
An Uncovered Finish Builds the Crust
Once the loaf has risen and set, removing the lid allows the surface to brown and become crisp. You can leave it in a few minutes longer if you prefer a darker, more deeply caramelized crust.
The Ingredient List Is Simple
There is no mixer, egg, milk, butter, or complicated starter required. It is a useful bread recipe to keep around when you want something impressive without a long ingredient list.
Tips for the Best No-Knead Dutch Oven Bread
Measure Flour Carefully
A kitchen scale gives you the most consistent dough. If measuring flour by volume, avoid packing it firmly into the measuring cup. Too much flour can turn an intentionally moist dough into a heavy loaf.
Expect Sticky Dough
This is not a smooth, firm dough. It should be sticky and somewhat loose after mixing. Use lightly floured hands or a bench scraper when shaping rather than adding large amounts of additional flour.
Give the Dough Enough Time
The overnight rest is an important part of the recipe. Look for a dough that has noticeably expanded and developed bubbles before moving on to shaping.
Preheat the Dutch Oven
A thoroughly heated Dutch oven gives the loaf an immediate burst of heat when it goes into the oven. Make sure your Dutch oven, lid, and handles are rated for the required oven temperature.
Use Parchment for Easier Handling
A sheet of parchment makes it much easier to lower the soft dough into a hot Dutch oven. Trim excessively long parchment edges if necessary so they stay safely inside the pot.
Let the Bread Cool Before Slicing
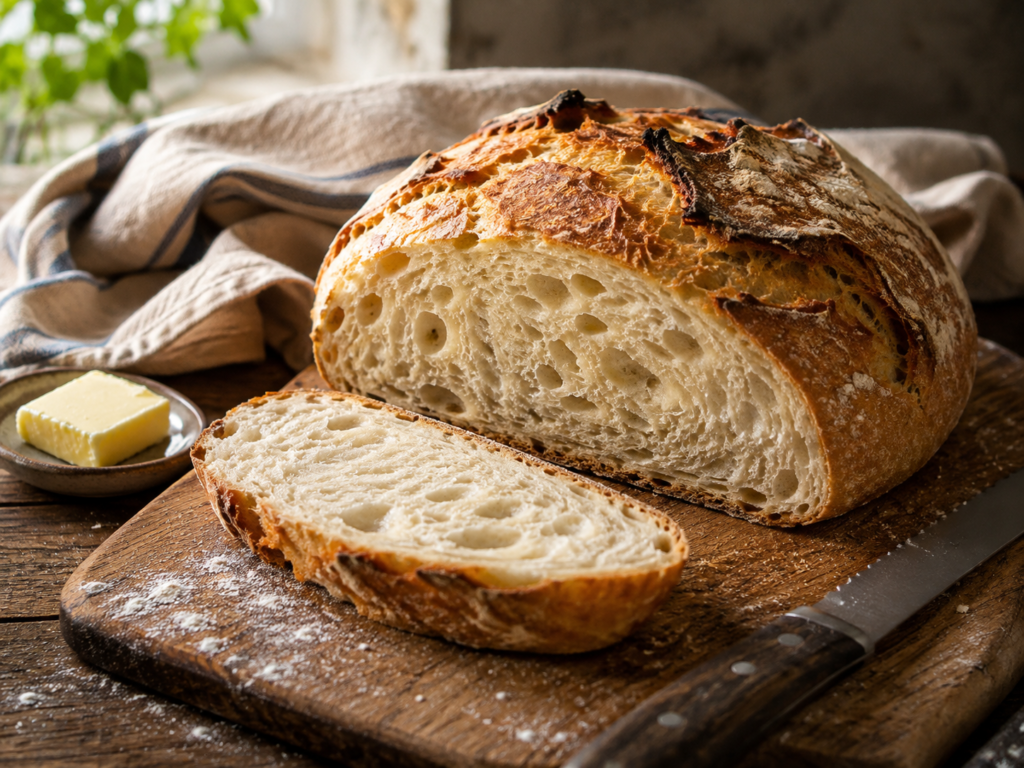
The interior continues setting after the loaf leaves the oven. Cutting immediately can compress the crumb and make the center seem gummy. Give it time to cool before reaching for the bread knife.
Meal Ideas and Easy Swaps
This rustic loaf works just as well beside a weeknight dinner as it does on a snack board. Serve thick slices with soup, chili, beef stew, pasta, or roasted vegetables. Toast leftover slices for breakfast, turn them into garlic bread, or use them for hearty sandwiches.
For a simple variation, sprinkle the dough with dried rosemary or another favorite dried herb before shaping. You can also add a little cracked black pepper for a savory loaf.
If you only have all-purpose flour, you can use it in place of bread flour. Because different flours absorb water differently, pay attention to the texture of the dough rather than trying to make it perfectly smooth or dry.
How This Recipe Comes Together
The process begins by stirring the dry ingredients together and adding water until no dry pockets of flour remain. There is no traditional kneading step.
Next comes the most important ingredient: time. The covered dough rests at room temperature for an extended rise, developing bubbles, flavor, and structure with very little help from you.
After rising, the dough is gently gathered into a round loaf. Handle it lightly so you do not press out all the air created during fermentation.
While the shaped dough rests briefly, the Dutch oven heats inside the oven. The loaf then goes into the hot pot and bakes covered before finishing uncovered until the crust is crisp and richly browned.
The hardest part may be waiting for the finished loaf to cool before slicing it.
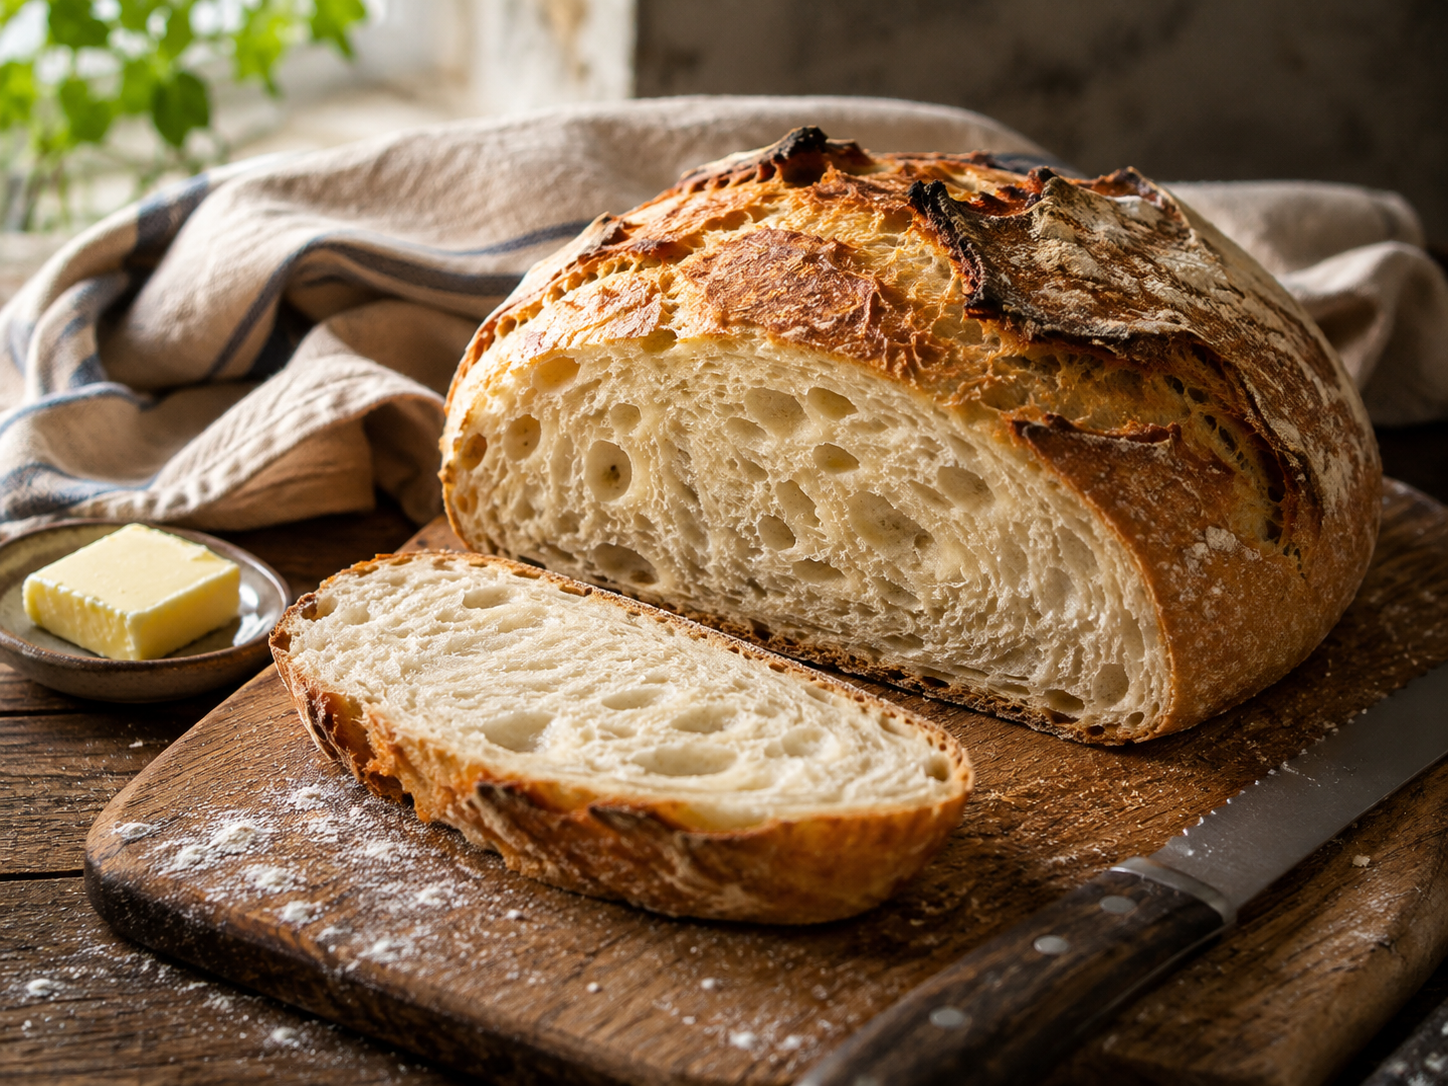
No-Knead Dutch Oven Bread
Method
- In a large bowl, stir together the bread flour, salt, and instant yeast.
- Pour in the lukewarm water. Stir with a wooden spoon or dough whisk until all the flour is moistened and a sticky, shaggy dough forms. Do not knead.
- Cover the bowl and let the dough rise at room temperature for 12 to 18 hours. It should expand noticeably and have bubbles across the surface when ready.
- Place a sheet of parchment paper on the counter and lightly dust it with flour. Using lightly floured hands or a bench scraper, gently release the dough from the bowl.
- Fold the outer edges of the dough toward the center a few times to create a rough round. Turn it seam-side down onto the parchment. Avoid aggressively kneading or pressing out the air.
- Loosely cover the dough and let it rest for 30 to 45 minutes.
- Meanwhile, place a 5- to 6-quart Dutch oven and its lid inside the oven. Preheat the oven to 450°F for at least 30 minutes.
- Carefully remove the hot Dutch oven. Using the parchment as a sling, lower the dough into the pot. If desired, make one shallow slash across the top with a very sharp knife or bread lame.
- Cover immediately and bake for 30 minutes.
- Carefully remove the lid and continue baking for 12 to 18 minutes, or until the loaf is deeply golden brown and sounds hollow when tapped.
- Lift the bread from the Dutch oven and transfer it to a cooling rack. Let it cool for at least 1 hour before slicing.
Notes
Rise time varies with room temperature. Use the appearance of the dough as your guide.
A darker crust usually has more flavor, so do not be afraid to let the loaf become richly browned.
Verify that every part of your Dutch oven, including the lid knob, is rated for 450°F.
Do not taste raw bread dough because flour is a raw agricultural product and may contain harmful germs. CDC recommends baking or cooking foods containing raw flour before eating them.
For nutrition information, calculate with the exact flour and ingredient brands used in your WP Recipe Maker nutrition calculator.
Tried this recipe?
Let us know how it was!Nutrition Information Disclaimer
Nutrition information is provided as an estimate only and may vary based on the ingredients, brands, portion sizes, substitutions, and preparation methods used. Optional toppings and serving suggestions may not be included in the calculation. For the most accurate information, calculate nutrition using the specific ingredients and amounts you use.
Allergy notice: Always check ingredient labels and avoid substitutions that may introduce allergens. This recipe has not been verified as allergen-free.
Mistakenly Delicious Kitchen Picks
Helpful Kitchen Tools for Easier Cooking
These beginner-friendly guides and kitchen picks can make cooking, baking, food-safety checks, and meal prep easier.
Affiliate disclosure: This section contains Amazon affiliate links. As an Amazon Associate, I earn from qualifying purchases at no additional cost to you.
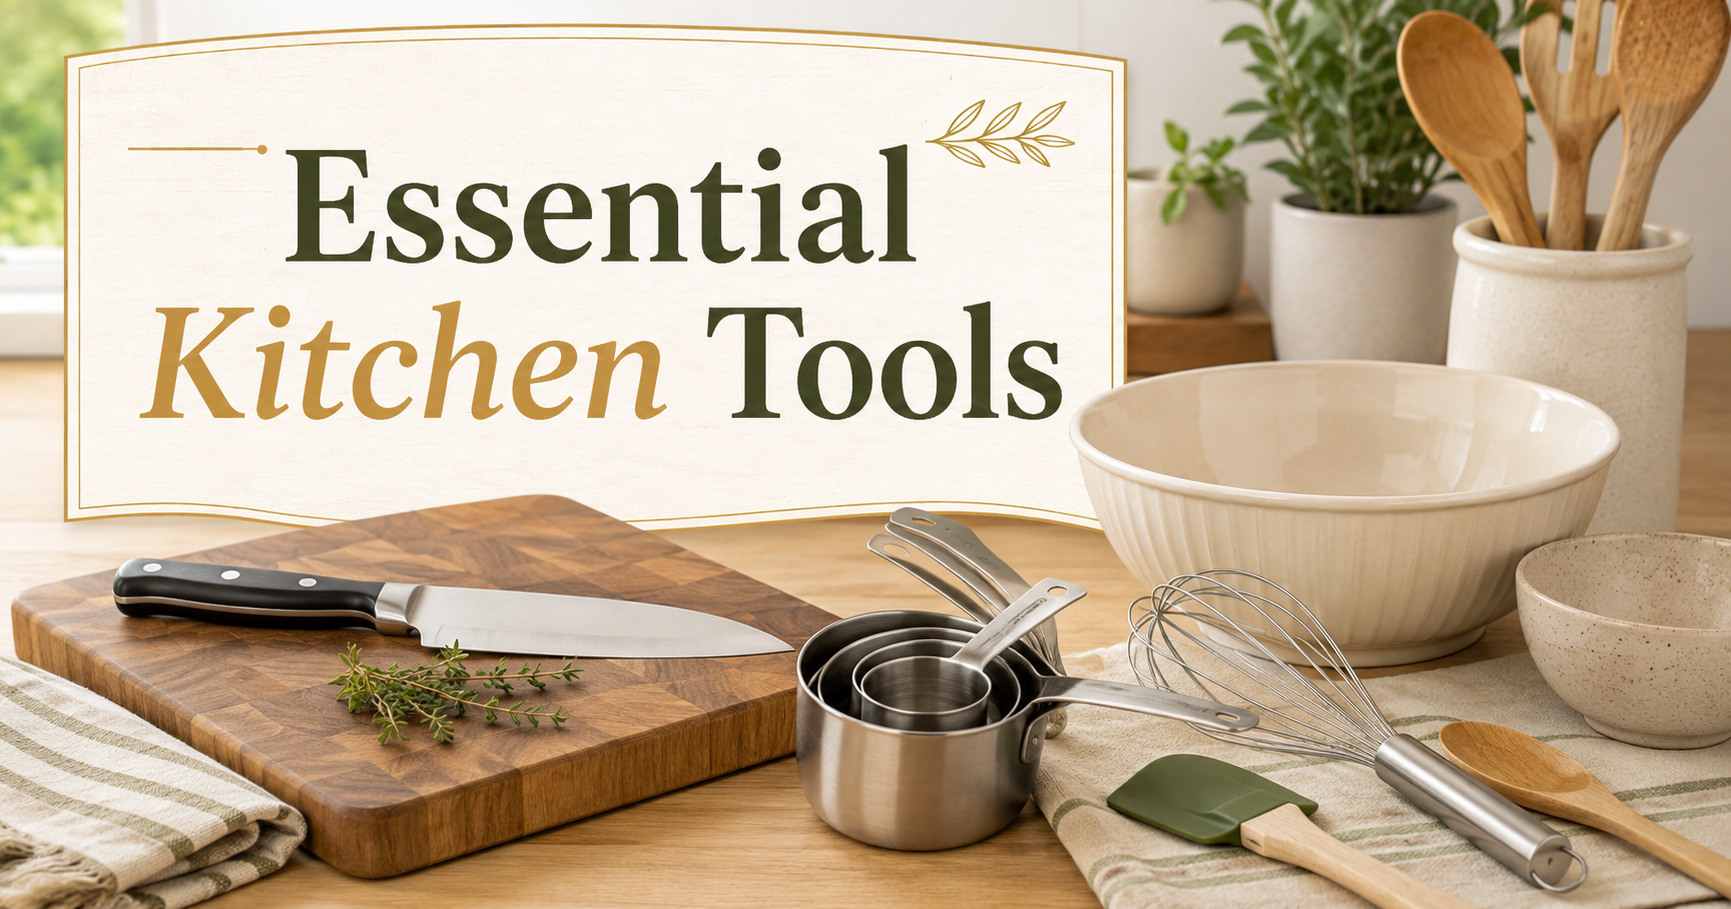
Essential Kitchen Tools for Beginner Cooks
Start with practical everyday tools instead of filling your kitchen with gadgets you may rarely use.

Best Affordable Meat Thermometers
Check chicken, burgers, roasts, and other foods without guessing whether the center is fully cooked.
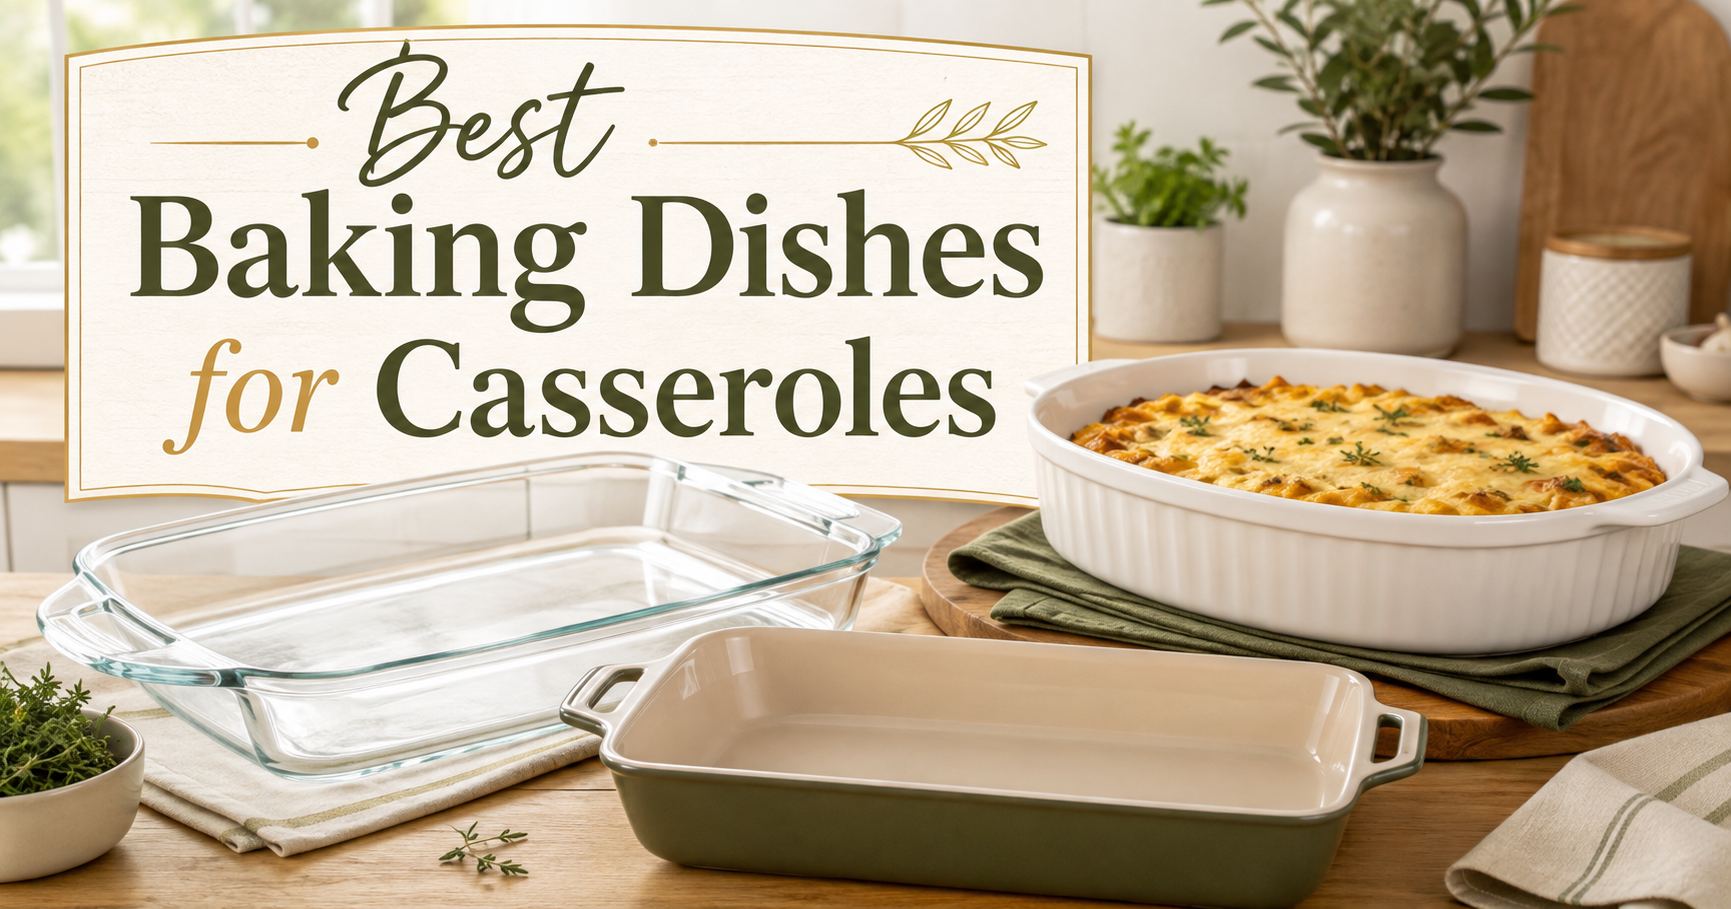
Best Baking Dishes for Casseroles
Compare dependable baking dishes for casseroles, rice bakes, biscuit bakes, desserts, and family meals.

Best Air Fryers for Beginner Cooks
Find a beginner-friendly air fryer for crispy foods, quick dinners, reheating leftovers, and smaller meals.
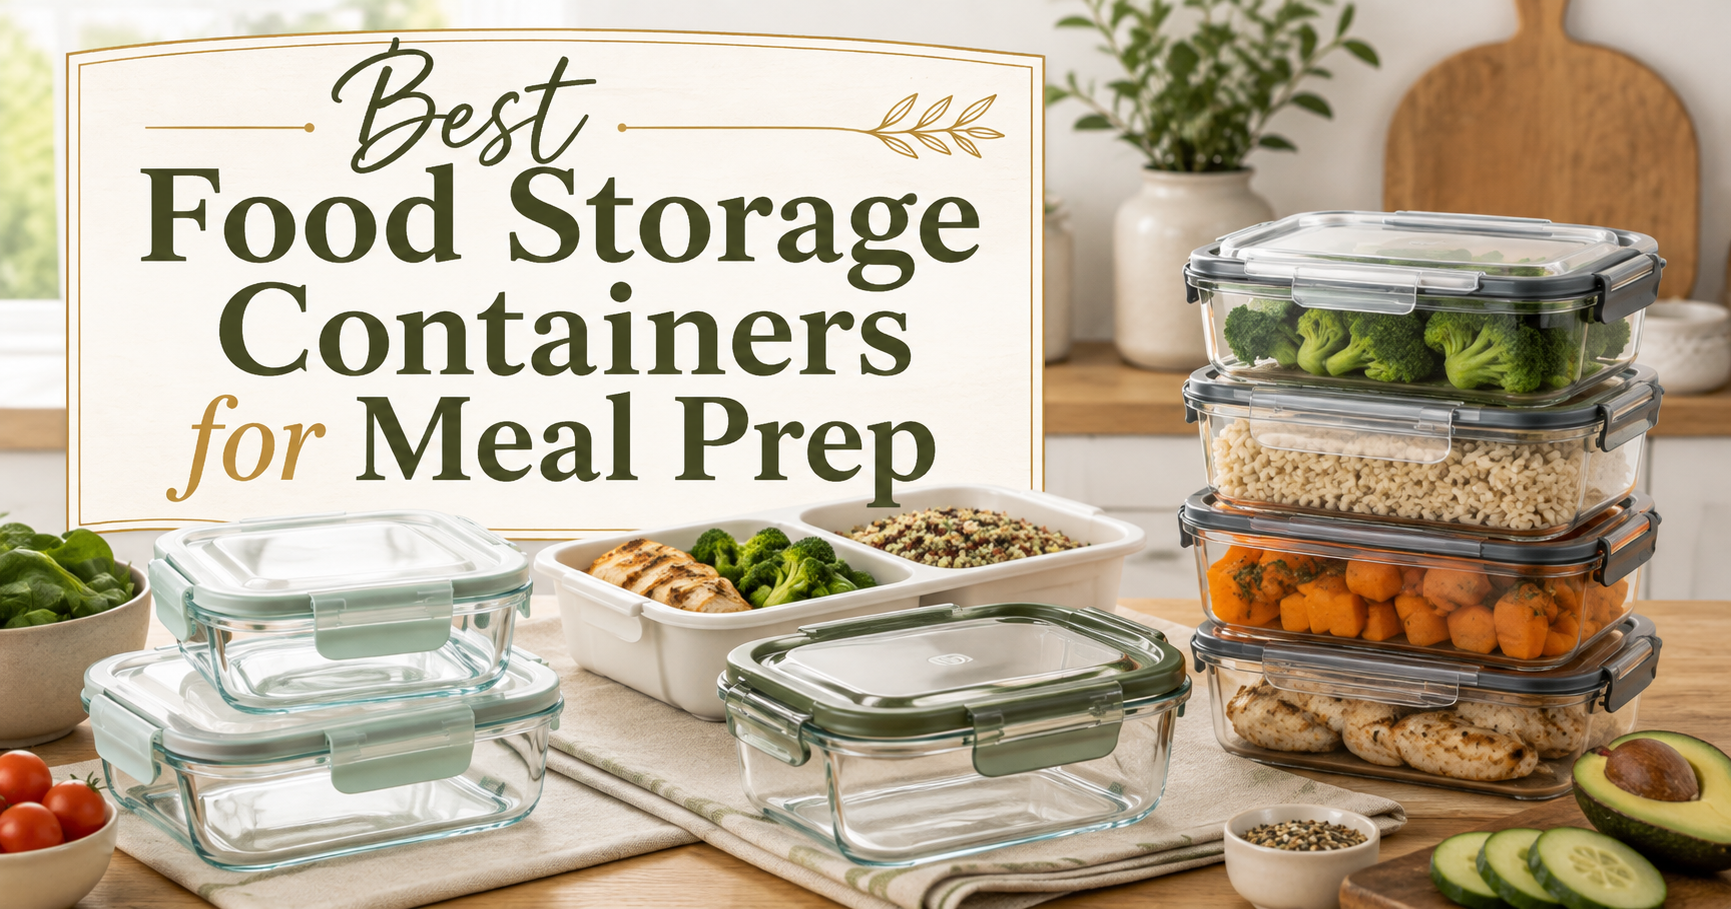
Best Food Storage Containers for Meal Prep
Store leftovers, lunches, freezer meals, and weekly meal-prep portions more neatly.

Featured Kitchen Pick
Explore another practical kitchen pick that can make everyday cooking and food preparation easier.
Storage and Reheating
For the best crust and texture, let the loaf cool completely before storing it. Keep the bread in a bread bag, paper bag, bread box, or loosely covered container at room temperature and enjoy it while it is fresh.
For longer storage, slice the cooled loaf and freeze the slices in a freezer-safe container or bag. Separating slices before freezing makes it easy to remove only what you need.
To bring back some of the fresh-baked texture, warm bread briefly in the oven or toast individual slices. Frozen slices can usually go directly into the toaster.
Food Safety Note
Do not taste the uncooked dough. Flour is a raw ingredient and should be thoroughly baked before eating. Wash your hands, utensils, bowls, and work surfaces after they come in contact with raw flour or dough.
Common Mistakes
Adding Too Much Flour
A sticky dough can feel wrong if you are used to kneaded sandwich bread, but adding too much flour can make the finished loaf dense. Use only enough extra flour to make handling manageable.
Rushing the First Rise
The extended rise is what makes a no-knead method work. If the dough has barely changed in size and has no visible bubbles, it probably needs more time.
Skipping the Dutch Oven Preheat
Putting the dough into a cool pot changes the way the loaf begins baking. Give both the oven and Dutch oven enough time to become thoroughly hot.
Handling the Risen Dough Too Aggressively
The goal during shaping is simply to organize the dough into a loaf. Heavy kneading or pressing can remove the bubbles that developed during the long rise.
Slicing the Bread Immediately
Fresh bread smells incredible, but slicing it while it is steaming hot can leave the center gummy. Cooling gives the crumb time to finish setting.
Frequently Asked Questions
Can I use all-purpose flour instead of bread flour?
Yes. All-purpose flour can be substituted, although the bread may have a somewhat softer and less chewy texture. Since flour absorption varies, judge the dough by its sticky consistency rather than adding extra flour automatically.
Why is my no-knead dough so sticky?
That is normal. This bread uses a relatively moist dough, and the long resting period allows the flour to hydrate without traditional kneading. Lightly flour your hands or use a bench scraper to make shaping easier.
Do I have to preheat the Dutch oven?
Preheating is recommended for this method. The hot covered pot provides the intense heat and enclosed environment that help the loaf expand and develop its rustic crust.
Can I let the dough rise longer than 12 hours?
Yes. An overnight window of roughly 12 to 18 hours works well for this recipe. A warm kitchen can speed fermentation, while a cooler room can slow it down, so watch the dough as well as the clock.
What size Dutch oven should I use?
A 5- to 6-quart Dutch oven gives this loaf enough space to expand without spreading excessively. Always make sure the pot, lid, and lid knob are oven-safe at the baking temperature.
Can I make this bread without parchment paper?
Yes, but parchment makes transferring a soft loaf into a very hot Dutch oven much easier. If you skip it, take extra care when lowering the dough into the pot.
Why did my bread turn out dense?
Common causes include adding too much flour, using inactive yeast, shortening the rise considerably, or handling the risen dough too aggressively before baking.
Final Notes
No-Knead Dutch Oven Bread is one of those recipes that proves homemade bread does not have to be complicated. A handful of basic ingredients, a bowl, and a little patience can produce a loaf with a crackly golden crust and a tender, chewy interior.
Mix it before bed, let time handle most of the work, and bake it the next day for a rustic loaf that is equally at home beside a bowl of soup, underneath a swipe of butter, or toasted for breakfast.
Trusted Resources
Helpful Recipe Resources
Trusted Food, Cooking, and Recipe References
Mistakenly Delicious uses AI-assisted workflows, but useful recipes still need common sense, food safety checks, and reliable cooking references. These resources can help with ingredients, nutrition, safe temperatures, and the AI workflow behind this site.
Ingredient Data
USDA FoodData Central
A useful reference for checking ingredient and nutrition data when reviewing recipes.
Visit Resource →Cooking Help
Nutrition.gov Cooking Tips
Beginner-friendly guidance for meal prep, cooking basics, shopping, and planning.
Visit Resource →Food Safety
Safe Cooking Temperatures
A helpful food safety chart for checking safe internal temperatures for chicken, meat, seafood, and leftovers.
Visit Resource →Creator Workflow
TechnofluxAI
The AI workflow and creator systems site behind Mistakenly Delicious.
Visit TechnofluxAI →