
Beginner-Friendly Recipe
Flaky Buttermilk Biscuits
A practical, beginner-friendly flaky buttermilk biscuits recipe with clear steps, useful substitutions, and dependable storage tips.
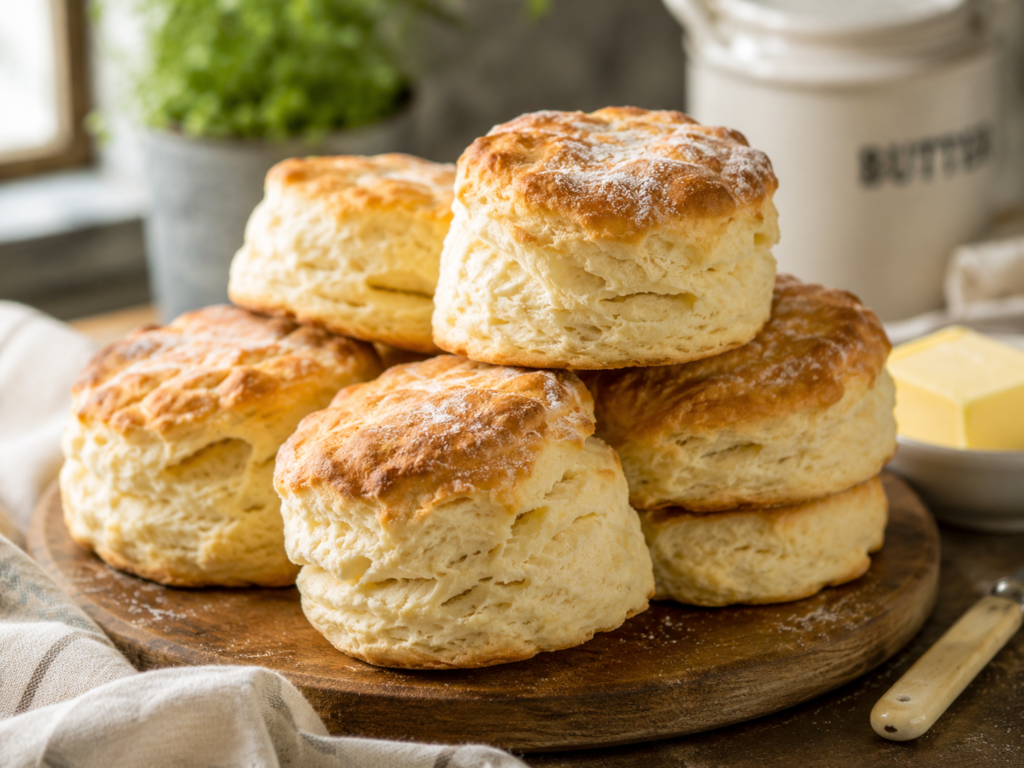
Few things are as comforting as a batch of warm Flaky Buttermilk Biscuits fresh from the oven. With their golden tops, tender centers, and delicate buttery layers, these biscuits feel special enough for a holiday table but simple enough for an ordinary weekend breakfast.
The secret to great biscuits is not complicated ingredients. It is all about technique: keeping the butter cold, handling the dough gently, and creating layers with a few simple folds. Buttermilk brings a pleasant tang while also helping the biscuits bake up soft and tender.
Once you get comfortable with the method, homemade biscuits become one of those recipes you can return to again and again. They work with jam and honey at breakfast, alongside soup or fried chicken at dinner, or split and topped with sausage gravy for a hearty brunch.
Mistakenly Smart Note
For flaky biscuits, keep everything as cold as possible and handle the dough lightly. Warm butter and overworked dough are two of the fastest ways to lose those tender, layered biscuit centers.
Quick Answer
Flaky Buttermilk Biscuits are made by cutting cold butter into flour, stirring in buttermilk, gently folding the dough to build layers, and baking the biscuits until tall and golden. The result is a tender biscuit with crisp edges and soft, buttery layers inside.
Jump to the printable recipe and shopping list.
Ingredients Overview
All-purpose flour gives the biscuits structure while still keeping them tender. It is the dependable base for a classic biscuit texture.
Baking powder provides most of the lift, helping the biscuits rise high in the oven.
Baking soda works with the acidity of the buttermilk to improve both rise and browning.
Salt balances the flavor and keeps the biscuits from tasting flat.
Cold unsalted butter is the key to flaky layers. As the butter melts in the hot oven, it helps create steam pockets that separate the dough into delicate layers.
Cold buttermilk brings tangy flavor and helps create a tender crumb. Its acidity also reacts with the baking soda.
A little extra butter brushed on after baking adds flavor and gives the tops a lovely finish.
Why This Recipe Works
Cold Butter Creates Layers
Small pieces of cold butter stay distinct in the dough. Once the biscuits hit the oven, those butter pieces help create steam and separate the dough into flaky layers.
Buttermilk Adds Tang and Tenderness
Buttermilk does more than add flavor. Its acidity helps soften the dough and works with the leavening to support a light texture.
A Few Folds Build Height
Gently folding the dough a few times creates visible layers without kneading it into toughness. This simple step makes a big difference in the finished biscuit.
High Heat Helps the Biscuits Rise
A hot oven gives biscuits a quick burst of lift and helps the tops turn golden before the interiors dry out.
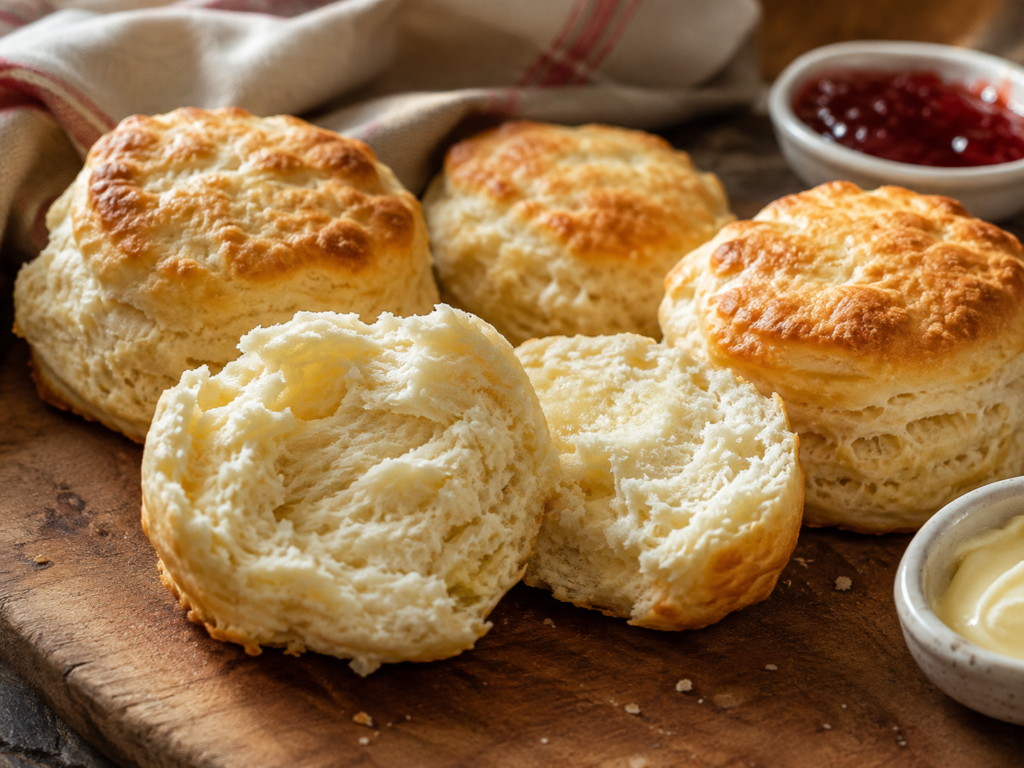
Tips for Tall, Tender Biscuits
Start with Very Cold Ingredients
Cold butter and cold buttermilk give you the best chance at flaky layers. If your kitchen is warm, you can even chill the flour mixture briefly before adding the liquid.
Do Not Overmix the Dough
Once the buttermilk goes in, stir only until the dough starts coming together. A shaggy dough is better than a perfectly smooth one when you want tender biscuits.
Use Gentle Folds Instead of Heavy Kneading
Pressing and folding the dough a few times creates layers while keeping the texture soft. Too much kneading develops the flour more than you want for biscuits.
Pat the Dough Instead of Rolling It Aggressively
Using your hands to gently pat the dough helps preserve the butter pieces and prevents the dough from becoming compact.
Cut Straight Down
When cutting biscuits, press the cutter straight down without twisting. Twisting can seal the edges and reduce how well the biscuits rise.
Bake the Biscuits Close Together for Softer Sides
If you like softer-sided biscuits, place them close enough that they almost touch. For crisper sides, leave more space between them.
Meal Ideas and Easy Swaps
Serve these biscuits with butter, honey, or jam for breakfast, or pair them with sausage gravy for a classic brunch. At dinner, they are excellent with fried chicken, roast chicken, chili, beef stew, ham, or vegetable soup.
Split leftover biscuits and use them for breakfast sandwiches, mini ham biscuits, or strawberry shortcake-style desserts with whipped cream and berries.
If you want a savory twist, stir a little shredded cheddar or chopped chives into the dough. You can also brush the tops with garlic butter after baking.
If you do not have unsalted butter, salted butter can work. Just reduce the added salt slightly so the biscuits do not taste overly salty.
How These Biscuits Come Together
The process starts by whisking together the dry ingredients and cutting in cold butter until the mixture has small uneven pieces throughout. Those butter pieces are exactly what you want for flaky biscuits.
Cold buttermilk is stirred in just until the dough becomes shaggy. The dough is then turned out onto a lightly floured surface and gently pressed together.
A few folds create layers, after which the dough is patted out and cut into rounds. The biscuits are placed on a baking sheet or in a baking pan and baked until tall and golden.
Once out of the oven, a quick brush of melted butter gives them extra flavor and an inviting finish.
Ingredients
- 2 cups all-purpose flour
- 1 tablespoon baking powder
- 1/4 teaspoon baking soda
- 1 teaspoon sugar
- 3/4 teaspoon salt
- 8 tablespoons very cold unsalted butter, cubed
- 3/4 cup cold buttermilk, plus more for brushing
How to Make Flaky Buttermilk Biscuits
- Heat the oven to 450°F and line a baking sheet with parchment.
- Whisk flour, baking powder, baking soda, sugar, and salt.
- Cut in the cold butter with a pastry blender or fingertips until pea-size pieces remain.
- Pour in buttermilk and stir just until a shaggy dough forms. Do not knead smooth.
- Turn onto a floured surface, pat into a rectangle, fold into thirds, rotate, and repeat the fold two more times.
- Pat 3/4 inch thick. Cut straight down with a floured 2 1/2-inch cutter and place biscuits close together.
- Brush tops with buttermilk and bake 12 to 15 minutes until tall and golden. Serve warm.
Beginner tip: Measure and prepare every ingredient before starting. Use an instant-read thermometer whenever a safe internal temperature is listed.
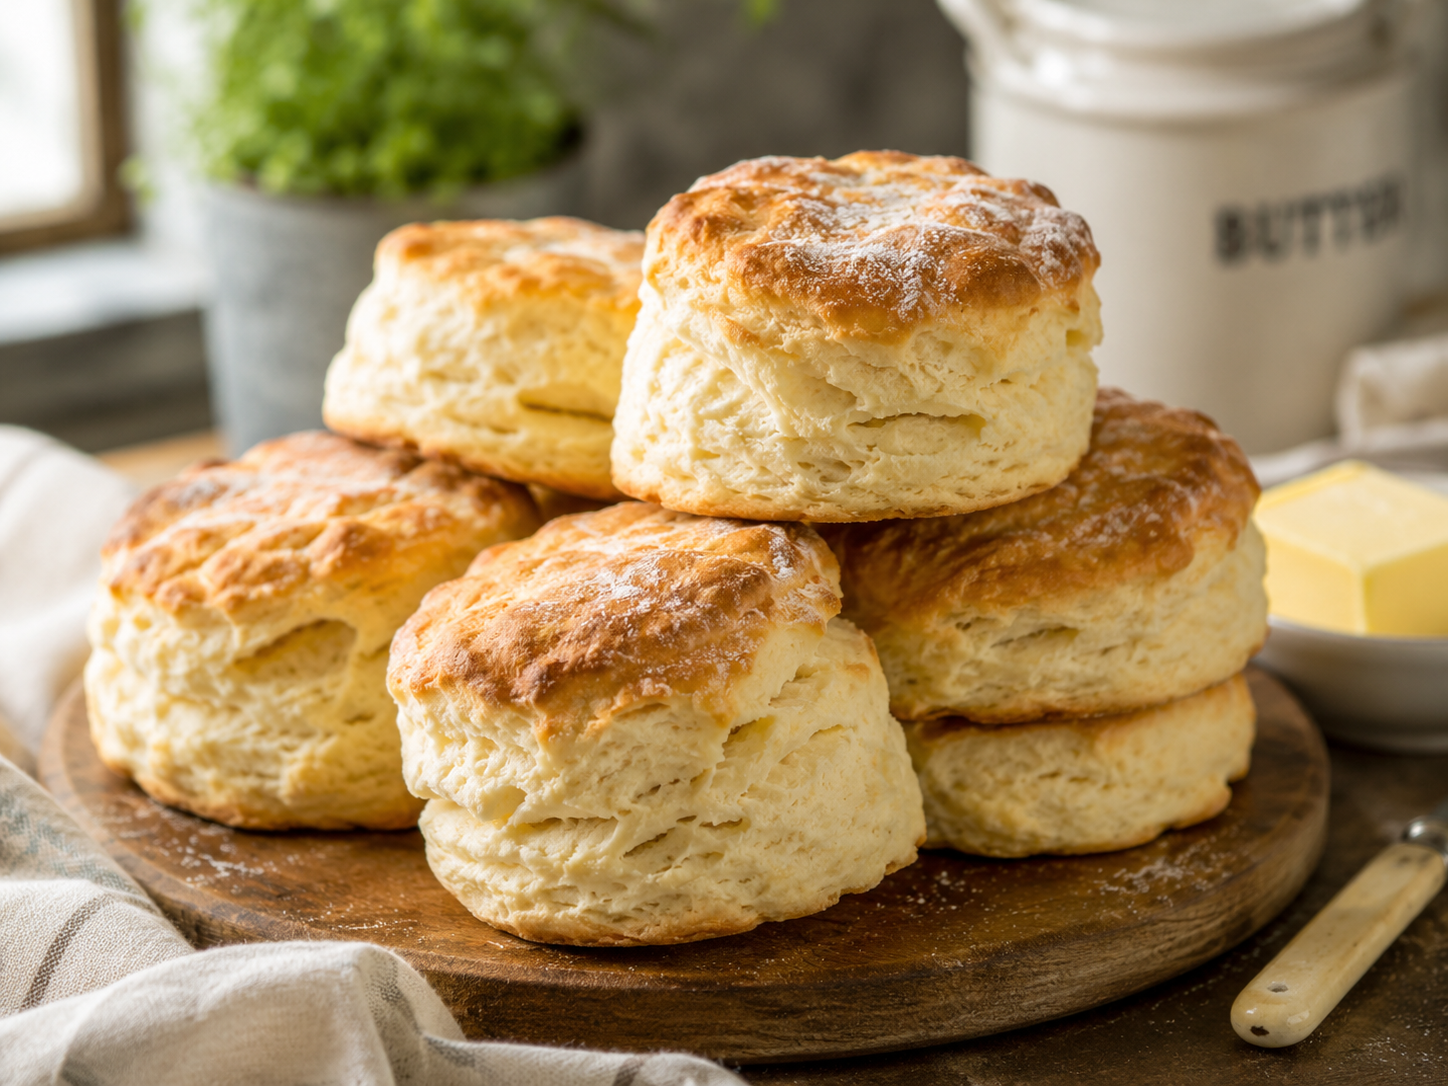
Flaky Buttermilk Biscuits
Method
- Preheat the oven to 425°F. Line a baking sheet with parchment paper or lightly grease an 8-inch round cake pan.
- In a large bowl, whisk together the flour, baking powder, baking soda, and salt.
- Add the cold butter. Cut it into the flour mixture with a pastry cutter or rub it in with your fingertips until the mixture contains pea-sized and slightly larger butter pieces.
- Pour in the cold buttermilk and stir gently just until the dough starts to come together. If there are dry bits at the bottom of the bowl, add an extra tablespoon or two of buttermilk only as needed.
- Turn the dough out onto a lightly floured surface. Gently bring it together and pat it into a rectangle about 1 inch thick.
- Fold the dough in half, then gently pat it out again. Repeat this folding and patting process 3 to 4 times to create layers.
- Pat the dough to about 3/4 to 1 inch thick. Cut straight down with a floured biscuit cutter, pressing without twisting. Gather scraps gently and cut additional biscuits.
- Place the biscuits on the prepared baking sheet or in the pan. For softer sides, arrange them close together. For crisper sides, leave space between them.
- Bake for 14 to 18 minutes, or until the biscuits are tall and golden brown on top.
- Remove from the oven and brush the tops with melted butter.
- Cool for a few minutes before serving warm.
Notes
Do not overmix or overwork the dough or the biscuits may turn out tough.
Press the cutter straight down without twisting to help the biscuits rise evenly.
If you do not have a biscuit cutter, use a sharp knife to cut square biscuits and avoid rerolling scraps too many times.
For extra browning, you can brush the tops lightly with buttermilk before baking.
Do not taste raw dough. Raw flour is not treated to kill germs and should be baked before eating.
Tried this recipe?
Let us know how it was!Nutrition Information Disclaimer
Nutrition information is provided as an estimate only and may vary based on the ingredients, brands, portion sizes, substitutions, and preparation methods used. Optional toppings and serving suggestions may not be included in the calculation. For the most accurate information, calculate nutrition using the specific ingredients and amounts you use.
Allergy notice: Always check ingredient labels and avoid substitutions that may introduce allergens. This recipe has not been verified as allergen-free.
Easy Substitutions
- Make buttermilk with 2 teaspoons lemon juice plus enough milk to equal 3/4 cup
- Use half whole-wheat pastry flour
- Add 1/2 cup shredded cheddar and 1 tablespoon chives
Storage and Reheating
Cool completely, then store airtight at room temperature for 2 to 3 days or freeze for up to 2 months. Thaw at room temperature and warm briefly before serving.
Warm individual portions gently in a low oven or microwave only until pleasantly warm; avoid overheating.
Frequently Asked Questions
Can I prepare this recipe ahead?
Yes. Prepare the ingredients or complete the recipe ahead when practical, then follow the storage guidance above. For the best texture, keep crisp toppings and fresh garnishes separate until serving.
How do I know it is done?
Use the time as a guide and rely on the texture, color, and temperature cues in the numbered instructions. Ovens and stovetops vary, so check a little early.
Can I double the recipe?
Usually, yes. Use a larger pan or cook in batches so the food is not crowded. Cooking time may increase, so check doneness rather than relying only on the clock.
Image and Publishing Notes
Featured image idea: A bright, natural-light close-up of finished flaky buttermilk biscuits in a simple home-kitchen setting.
Suggested alt text: Homemade flaky buttermilk biscuits ready to serve.
Schema: Recipe schema through WP Recipe Maker. Copy the ingredient amounts, numbered method, times, servings, and temperature notes into the recipe card placeholder.
Verification: Review package labels, appliance behavior, ingredient availability, and final recipe-card values before publishing. Do not claim the recipe was personally tested unless it was.
Food Safety Sources
For meat and egg temperatures, see the USDA safe minimum internal temperature chart. For cold storage guidance, see the FoodSafety.gov cold food storage chart.
Mistakenly Delicious Kitchen Picks
Helpful Kitchen Tools for Easier Cooking
These beginner-friendly guides and kitchen picks can make cooking, baking, food-safety checks, and meal prep easier.
Affiliate disclosure: This section contains Amazon affiliate links. As an Amazon Associate, I earn from qualifying purchases at no additional cost to you.
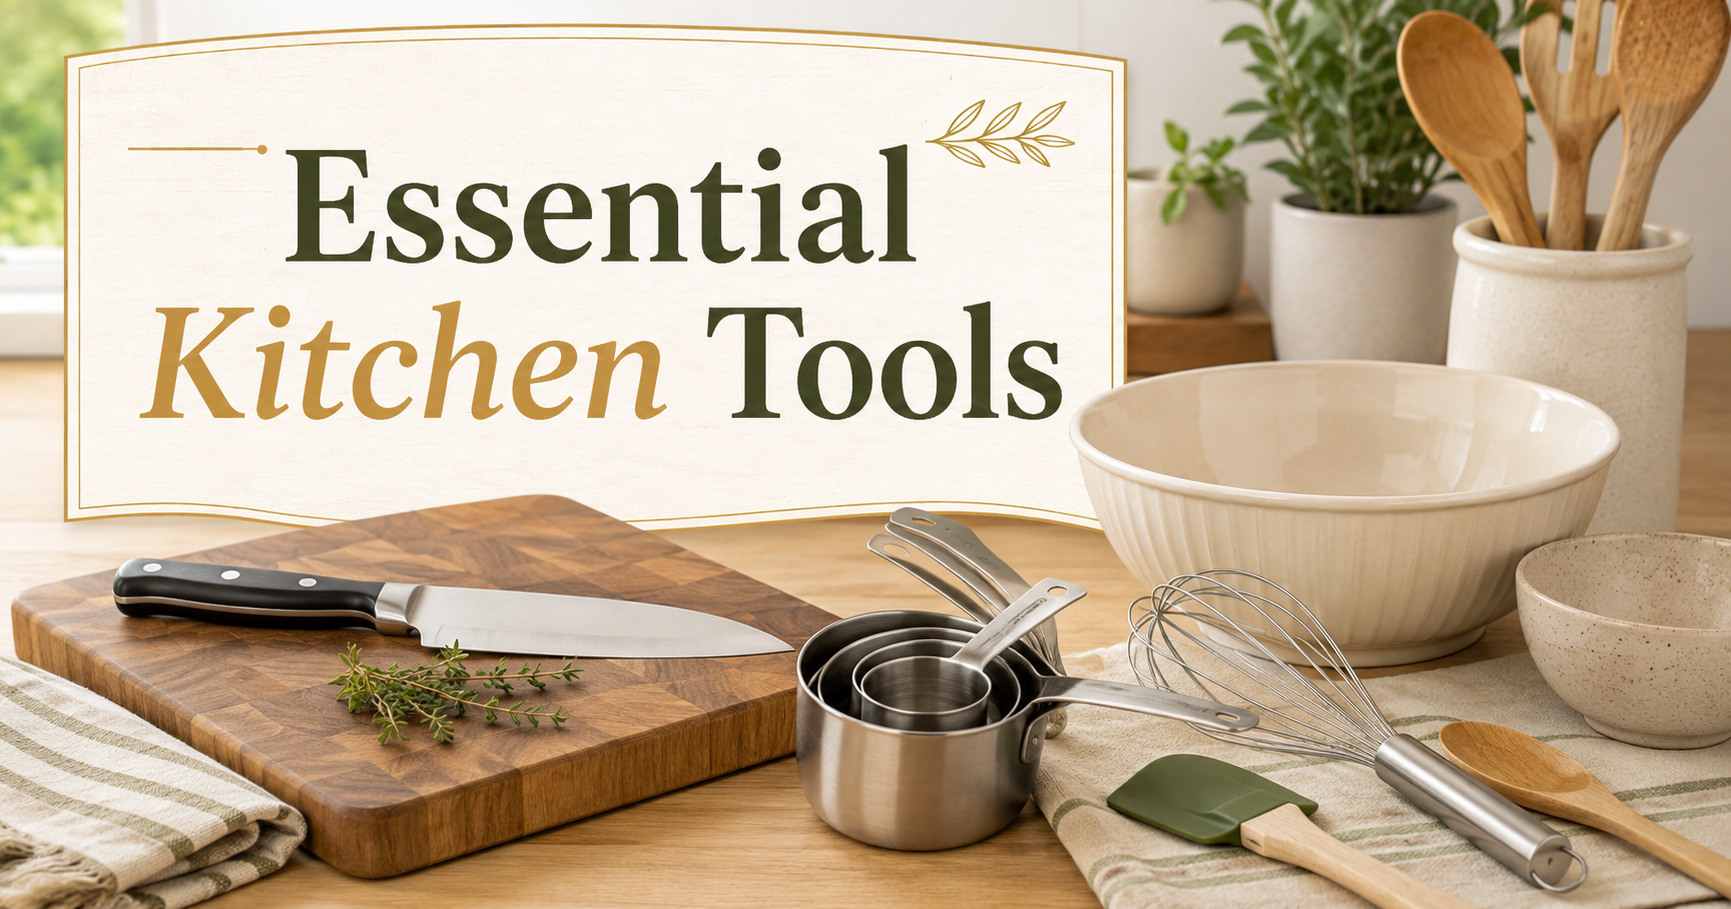
Essential Kitchen Tools for Beginner Cooks
Start with practical everyday tools instead of filling your kitchen with gadgets you may rarely use.

Best Affordable Meat Thermometers
Check chicken, burgers, roasts, and other foods without guessing whether the center is fully cooked.
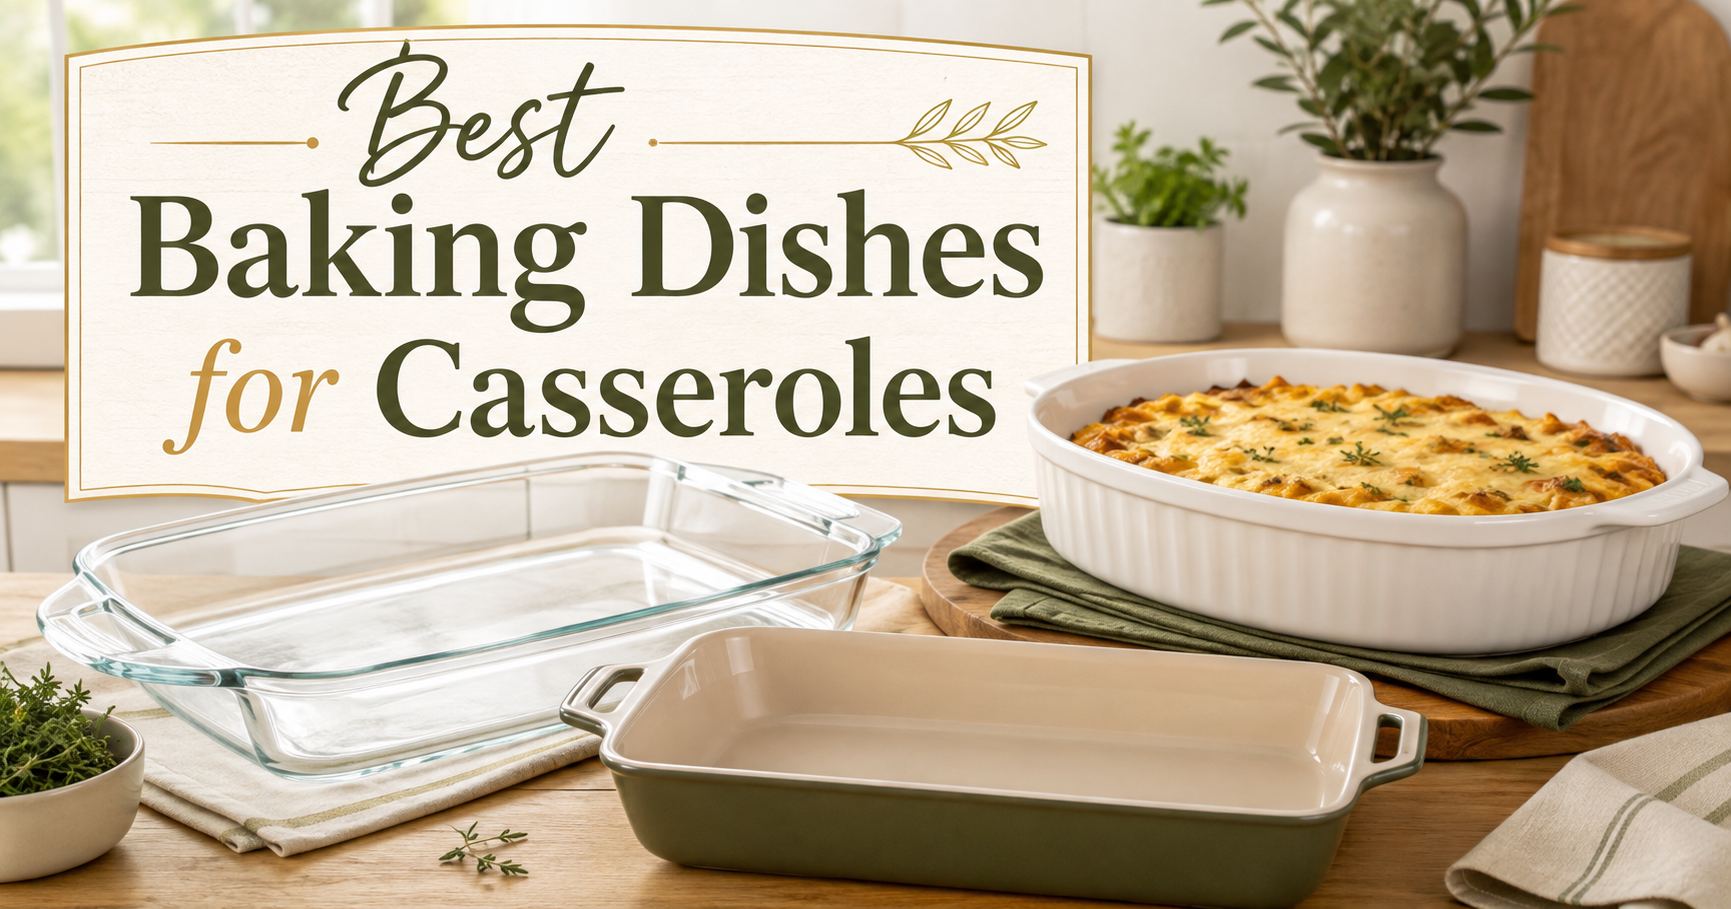
Best Baking Dishes for Casseroles
Compare dependable baking dishes for casseroles, rice bakes, biscuit bakes, desserts, and family meals.

Best Air Fryers for Beginner Cooks
Find a beginner-friendly air fryer for crispy foods, quick dinners, reheating leftovers, and smaller meals.
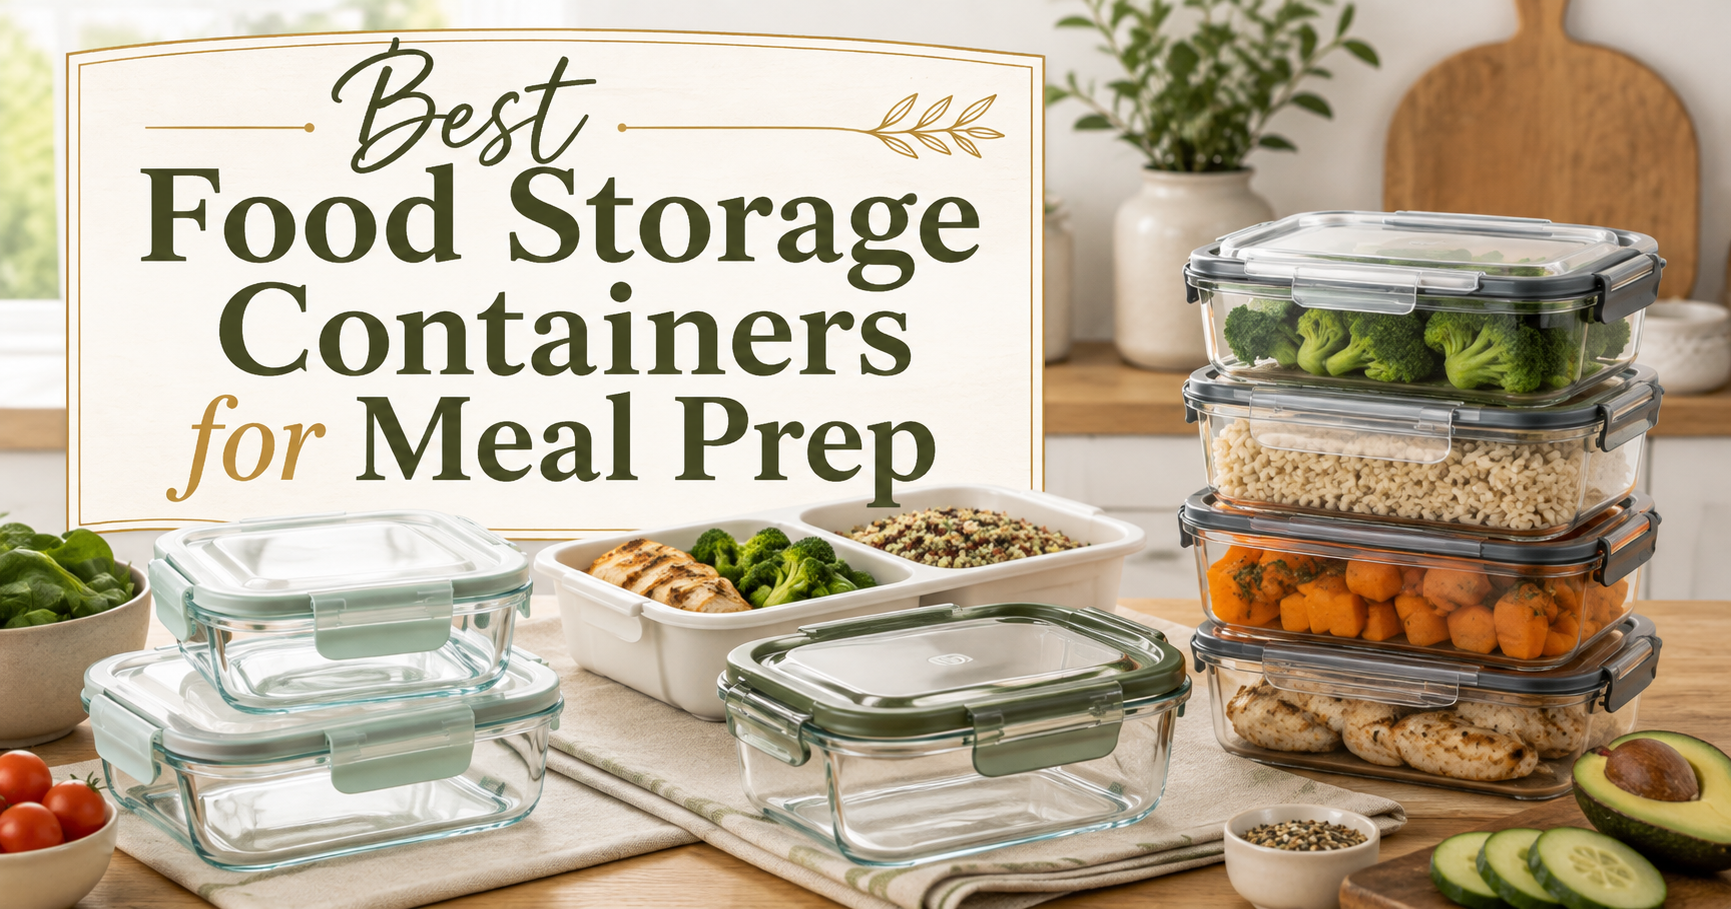
Best Food Storage Containers for Meal Prep
Store leftovers, lunches, freezer meals, and weekly meal-prep portions more neatly.

Featured Kitchen Pick
Explore another practical kitchen pick that can make everyday cooking and food preparation easier.
Storage and Reheating
Biscuits are at their absolute best the day they are baked, but leftovers can still be very good when stored properly. Let them cool completely, then keep them in an airtight container at room temperature for a day or two.
For longer storage, freeze the cooled biscuits in a freezer-safe bag or container. You can freeze them in a single layer first to keep them from sticking together.
To reheat, warm the biscuits in a low oven until heated through. You can also split them and toast the cut sides lightly for a crisp edge and warm center.
Food Safety Note
Do not taste unbaked biscuit dough. Raw flour may contain harmful germs, so wash hands, utensils, bowls, and work surfaces after they come into contact with raw dough.
Common Mistakes
Using Warm Butter
Warm butter blends too thoroughly into the flour and reduces the pockets needed for flaky layers. If the butter softens too much while you work, chill the dough briefly before cutting the biscuits.
Adding Too Much Liquid
The dough should look shaggy and somewhat rough, not wet and loose. Too much liquid can make the dough harder to handle and affect the texture.
Overworking the Dough
Biscuits become tougher as the dough is mixed, kneaded, and rerolled too much. Gentle handling is one of the biggest keys to success.
Twisting the Cutter
It is a small step, but it matters. Twisting compresses the edges and can keep the biscuits from rising as high as they should.
Using Too Little Oven Heat
A hot oven helps create lift quickly. If the oven is not fully preheated, the biscuits may spread more before they rise.
Rerolling Scraps Too Many Times
The first cut biscuits are usually the best. Press leftover scraps together gently and cut a few more, but avoid repeatedly reworking the dough.
Frequently Asked Questions
Can I make buttermilk biscuits without buttermilk?
Real buttermilk gives the best flavor and texture, but in a pinch you can make a substitute by stirring a little lemon juice or vinegar into milk and letting it sit briefly. The results may be slightly different, but it can still work.
Why are my biscuits not flaky?
The most common reasons are warm butter, overmixed dough, or skipping the folding step. Flaky layers come from cold butter and gentle handling.
Can I use a food processor?
Yes. A food processor can cut the butter into the flour very quickly, which helps keep everything cold. Be careful not to overprocess once the liquid is added.
How do I get taller biscuits?
Pat the dough thick enough before cutting, use a sharp cutter, cut straight down without twisting, and make sure your oven is fully preheated.
Can I make the dough ahead?
Yes. You can cut the biscuits and refrigerate them briefly before baking, or freeze unbaked biscuits and bake them later. They may need a little extra time in the oven if starting very cold.
Can I freeze baked biscuits?
Absolutely. Cool them completely, freeze in an airtight container, and reheat in the oven when ready to serve.
Why are my biscuits tough?
Tough biscuits usually come from overmixing, overhandling, or adding too much flour. Keep the dough soft and work gently.
Final Notes
Flaky Buttermilk Biscuits are one of the most rewarding baking recipes because the ingredient list is simple, but the payoff feels generous. When the butter stays cold and the dough stays lightly handled, you get tall biscuits with tender centers and beautiful layers.
Serve them warm with butter and jam, alongside a comforting dinner, or under a spoonful of gravy for a classic meal. Once you make a batch from scratch, it is easy to see why homemade biscuits stay on repeat.
Trusted Resources
Helpful Recipe Resources
Trusted Food, Cooking, and Recipe References
Mistakenly Delicious uses AI-assisted workflows, but useful recipes still need common sense, food safety checks, and reliable cooking references. These resources can help with ingredients, nutrition, safe temperatures, and the AI workflow behind this site.
Ingredient Data
USDA FoodData Central
A useful reference for checking ingredient and nutrition data when reviewing recipes.
Visit Resource →Cooking Help
Nutrition.gov Cooking Tips
Beginner-friendly guidance for meal prep, cooking basics, shopping, and planning.
Visit Resource →Food Safety
Safe Cooking Temperatures
A helpful food safety chart for checking safe internal temperatures for chicken, meat, seafood, and leftovers.
Visit Resource →Creator Workflow
TechnofluxAI
The AI workflow and creator systems site behind Mistakenly Delicious.
Visit TechnofluxAI →