Beginner-Friendly Recipe
Soft Homemade Dinner Rolls
A practical, beginner-friendly soft homemade dinner rolls recipe with clear steps, useful substitutions, and dependable storage tips.
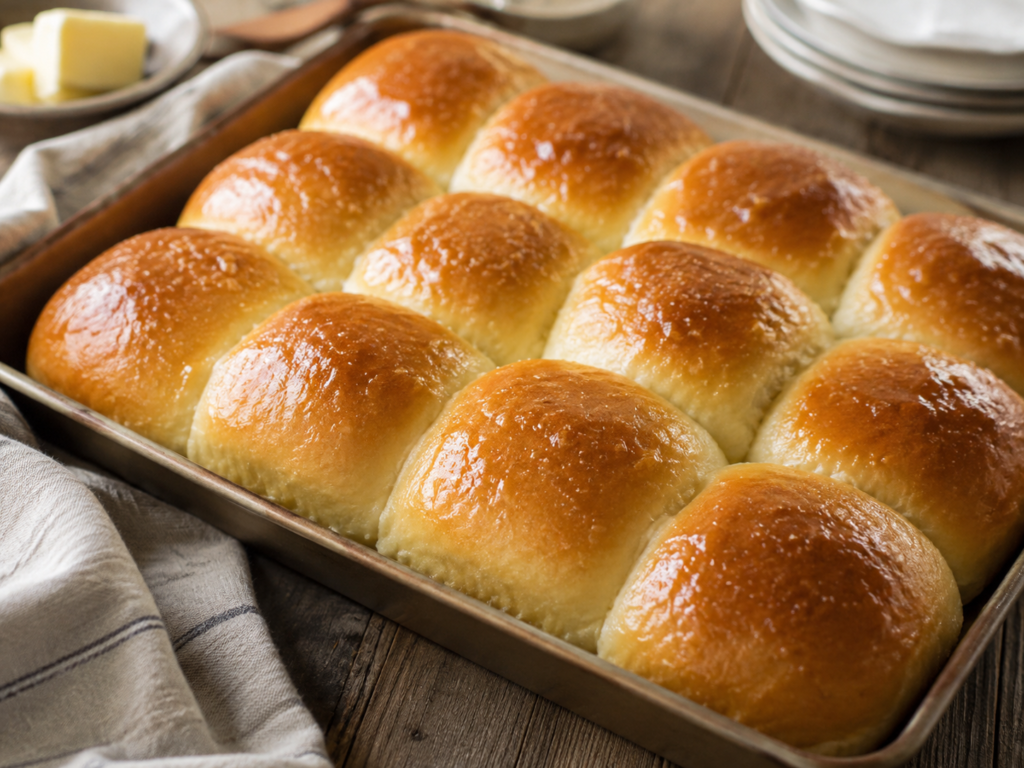
A basket of warm Soft Homemade Dinner Rolls can make even a simple dinner feel special. These rolls bake up light and fluffy with tender centers, golden tops, and just enough buttery flavor to make it difficult to stop at one.
This is a classic yeast-roll recipe made with everyday ingredients including flour, milk, butter, an egg, yeast, sugar, and salt. The enriched dough stays soft while still having enough structure to shape into beautiful round rolls.
They are perfect for holiday dinners, Sunday meals, potlucks, or anytime you want homemade bread without making an entire loaf.
Mistakenly Smart Note
For extra-soft dinner rolls, resist the urge to add flour until the dough feels dry. The dough should be soft and slightly tacky after kneading. Adding too much flour is one of the easiest ways to turn fluffy rolls into heavy ones.
Quick Answer
Soft Homemade Dinner Rolls are made from a lightly enriched yeast dough containing milk, butter, egg, and a little sugar. Knead the dough until smooth, let it rise until doubled, divide it into individual rolls, allow them to rise again, and bake until lightly golden. Brushing the warm tops with melted butter gives them an especially soft finish.
Jump to the printable recipe and shopping list.
Ingredients Overview
All-purpose flour provides the structure for the rolls while keeping the crumb tender. Bread flour can also be used if you prefer a slightly chewier texture.
Whole milk adds richness and helps create a softer dough. Warming it slightly also helps create a comfortable environment for the yeast.
Instant yeast gives the rolls their lift and allows the dough to become airy and fluffy during the two rising periods.
Granulated sugar provides mild sweetness and balances the buttery, savory flavor of the rolls.
Butter enriches the dough and gives the finished rolls a tender texture. A little additional melted butter brushed over the baked rolls keeps the tops soft and adds flavor.
Egg adds richness, structure, and tenderness to the dough.
Salt balances the flavor and keeps the rolls from tasting flat.
Why This Recipe Works
An Enriched Dough Makes Tender Rolls
Milk, butter, and egg turn a basic yeast dough into a richer dough with a softer, more tender crumb. The result is a roll that pulls apart easily instead of having the chewy crust of an artisan loaf.
Two Rises Create a Fluffy Texture
The first rise develops the dough before shaping. The second rise gives the individual rolls time to become light and puffy before they enter the oven.
The Rolls Bake Close Together
Arranging the dough balls close together in the baking dish encourages them to rise into one another. This creates those soft pull-apart sides that make homemade dinner rolls especially inviting.
Butter Finishes the Tops
Brushing the rolls with melted butter while they are still warm adds flavor and helps keep the tops pleasantly soft rather than crusty.
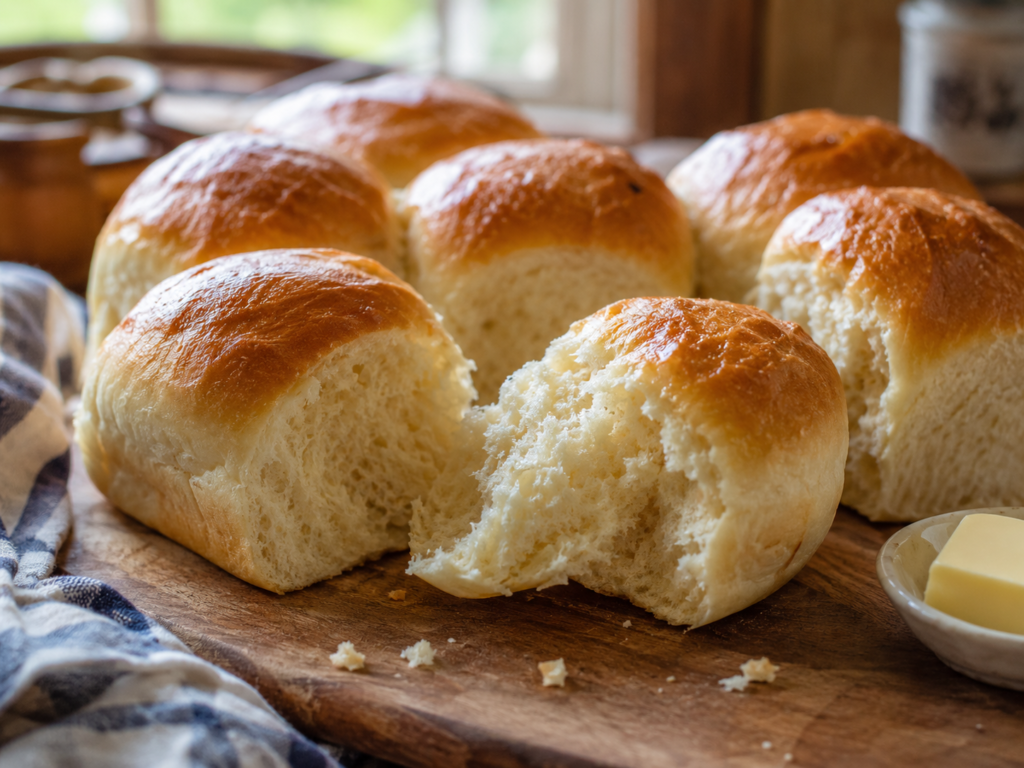
Tips for Soft and Fluffy Dinner Rolls
Keep the Dough Soft
The dough should feel soft and slightly tacky rather than stiff. Add extra flour only when necessary to make the dough manageable. Flour continues absorbing moisture as you knead, so give the dough time before deciding it needs more.
Do Not Overheat the Milk
The milk should be comfortably warm rather than hot. Very hot liquid can interfere with yeast activity, while lukewarm milk blends easily into the dough.
Knead Until Smooth and Elastic
Proper kneading helps the dough develop enough structure to trap the gases produced during rising. By the end, the dough should look smoother and feel elastic while remaining soft.
Watch the Dough, Not Just the Clock
Yeast dough rises faster in a warm kitchen and more slowly in a cool one. Use the estimated times as a guide, but look for the dough to become noticeably puffy and approximately double during the first rise.
Make Evenly Sized Rolls
Dividing the dough into equal portions helps every roll bake at roughly the same rate. A kitchen scale is especially helpful if you want a neat, uniform pan of rolls.
Create Tension While Shaping
For smooth round tops, gently pull the outside edges of each portion toward the bottom and pinch them together. Place each roll seam-side down in the baking dish.
Give the Second Rise Enough Time
The shaped rolls should look noticeably puffy before baking. If they still look compact, another few minutes of rising can make a big difference in the finished texture.
Meal Ideas and Easy Swaps
These homemade rolls fit almost anywhere you would serve bread. Add them to Thanksgiving or Christmas dinner, serve them with roast chicken, pot roast, ham, turkey, soup, chili, or a comforting casserole.
They are also excellent for soaking up gravy or sauces. Split leftover rolls and use them for small sandwiches, breakfast sandwiches, or sliders.
For a savory variation, brush the baked rolls with melted garlic butter. You can also mix chopped fresh herbs into the finishing butter for herb rolls.
If whole milk is unavailable, 2% milk can be used. Bread flour can replace all-purpose flour for a slightly more substantial, chewy roll.
How These Dinner Rolls Come Together
Begin by combining the warm milk with the other dough ingredients until a soft, shaggy dough forms. Kneading transforms that rough mixture into a smoother and more elastic dough.
The dough then gets its first rise. Once it has become light and approximately doubled in size, gently deflate it and divide it into equal portions.
Each portion is shaped into a smooth ball and arranged in a greased baking dish. Leaving a little space between the rolls gives them room to expand during their second rise.
Once the rolls look noticeably puffy, bake them until the tops are lightly golden and the centers are baked through.
Finish the warm rolls with melted butter and serve them while they are soft, fragrant, and fresh from the oven.
Soft Homemade Dinner Rolls
Method
- Add the warm milk, instant yeast, sugar, egg, and 5 tablespoons melted butter to a large mixing bowl. Stir until combined.
- Add the salt and 3 1/2 cups of flour. Mix until a shaggy, soft dough forms.
- If using a stand mixer, knead with the dough hook on medium-low speed for about 6 to 8 minutes. If kneading by hand, turn the dough onto a lightly floured surface and knead for about 8 to 10 minutes.
- The finished dough should be smooth, elastic, and slightly tacky. If it is extremely sticky after several minutes of kneading, add additional flour 1 tablespoon at a time. Avoid adding more than necessary.
- Place the dough in a lightly greased bowl and turn once to coat. Cover and let rise in a warm, draft-free place for 60 to 90 minutes, or until approximately doubled in size.
- Lightly grease a 9×13-inch baking dish.
- Gently deflate the risen dough and divide it into 12 equal pieces. For the most consistent rolls, weigh the dough and divide the total weight by 12.
- Shape each piece into a smooth ball by pulling the edges underneath and pinching them together. Arrange the rolls seam-side down in the prepared baking dish.
- Cover loosely and let the rolls rise for 45 to 60 minutes, or until noticeably puffy and beginning to touch one another.
- Near the end of the rising time, preheat the oven to 375°F.
- Bake the rolls for 18 to 22 minutes, or until the tops are evenly golden brown and the centers are baked through.
- Remove the rolls from the oven and immediately brush the tops with 2 tablespoons of melted butter.
- Let the rolls cool for about 10 minutes before serving warm.
Notes
Rise times are approximate and depend on room temperature and yeast activity.
If using active dry yeast instead of instant yeast, dissolve it in the warm milk with a pinch of the sugar first and let it stand until foamy before continuing.
For evenly sized rolls, weighing the portions is more accurate than dividing them by eye.
Brush the rolls with melted butter as soon as they leave the oven for softer tops.
Do not eat or taste the raw dough. Raw flour and raw eggs can contain germs that may cause foodborne illness.
Tried this recipe?
Let us know how it was!Nutrition Information Disclaimer
Nutrition information is provided as an estimate only and may vary based on the ingredients, brands, portion sizes, substitutions, and preparation methods used. Optional toppings and serving suggestions may not be included in the calculation. For the most accurate information, calculate nutrition using the specific ingredients and amounts you use.
Allergy notice: Always check ingredient labels and avoid substitutions that may introduce allergens. This recipe has not been verified as allergen-free.
Mistakenly Delicious Kitchen Picks
Helpful Kitchen Tools for Easier Cooking
These beginner-friendly guides and kitchen picks can make cooking, baking, food-safety checks, and meal prep easier.
Affiliate disclosure: This section contains Amazon affiliate links. As an Amazon Associate, I earn from qualifying purchases at no additional cost to you.
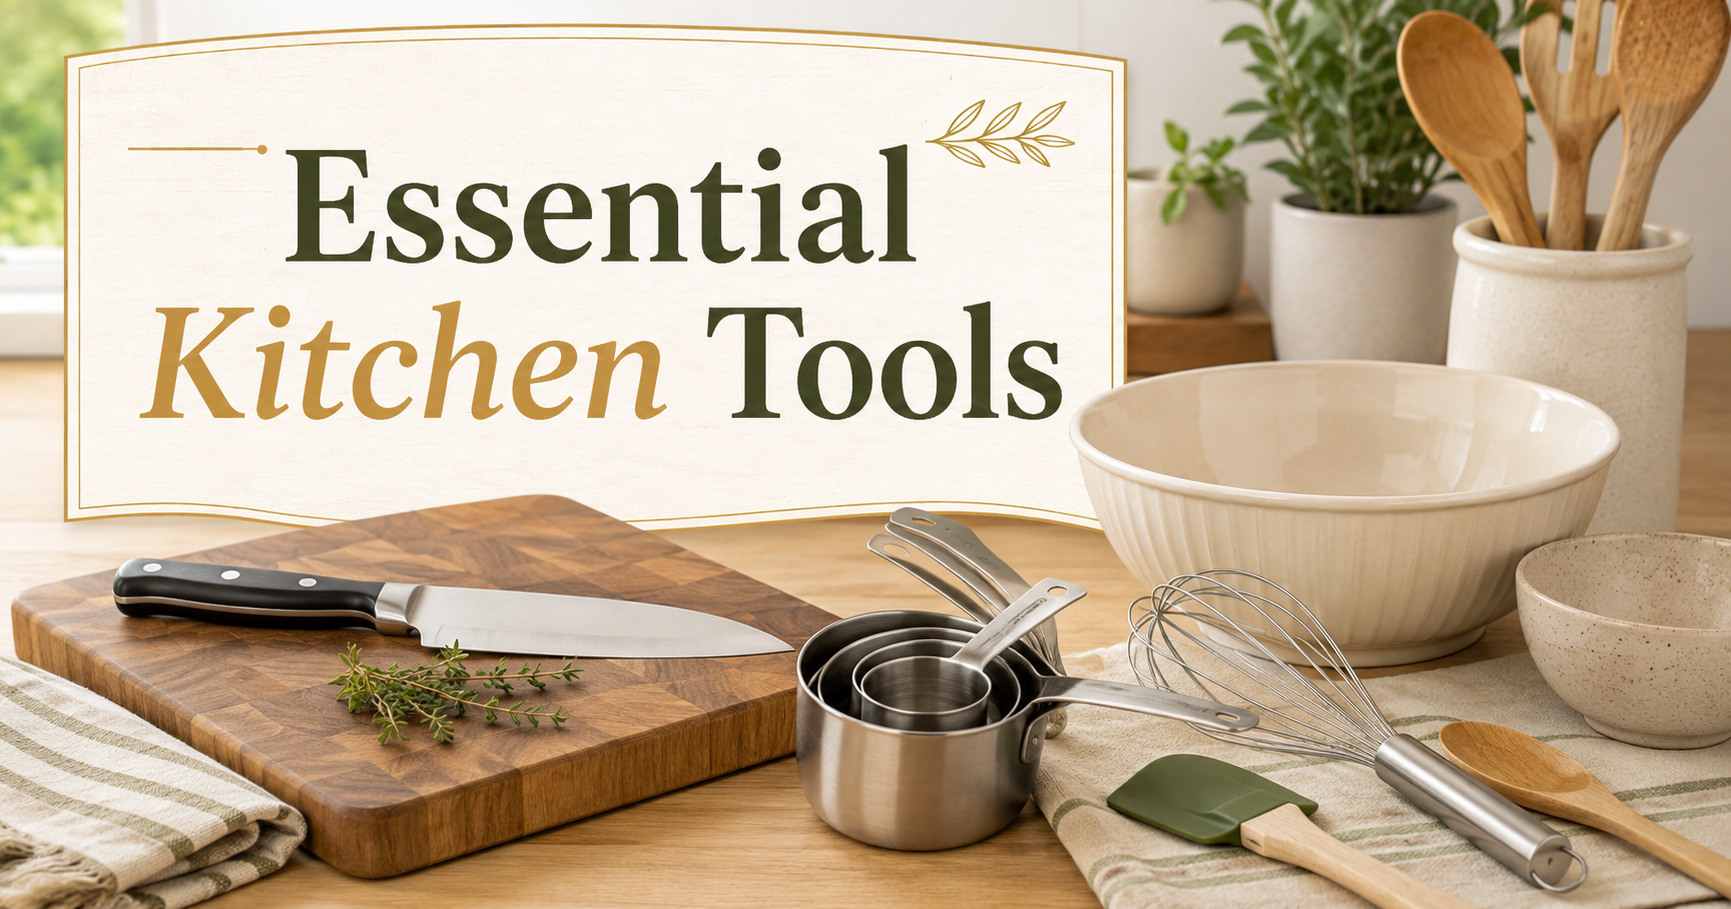
Essential Kitchen Tools for Beginner Cooks
Start with practical everyday tools instead of filling your kitchen with gadgets you may rarely use.

Best Affordable Meat Thermometers
Check chicken, burgers, roasts, and other foods without guessing whether the center is fully cooked.
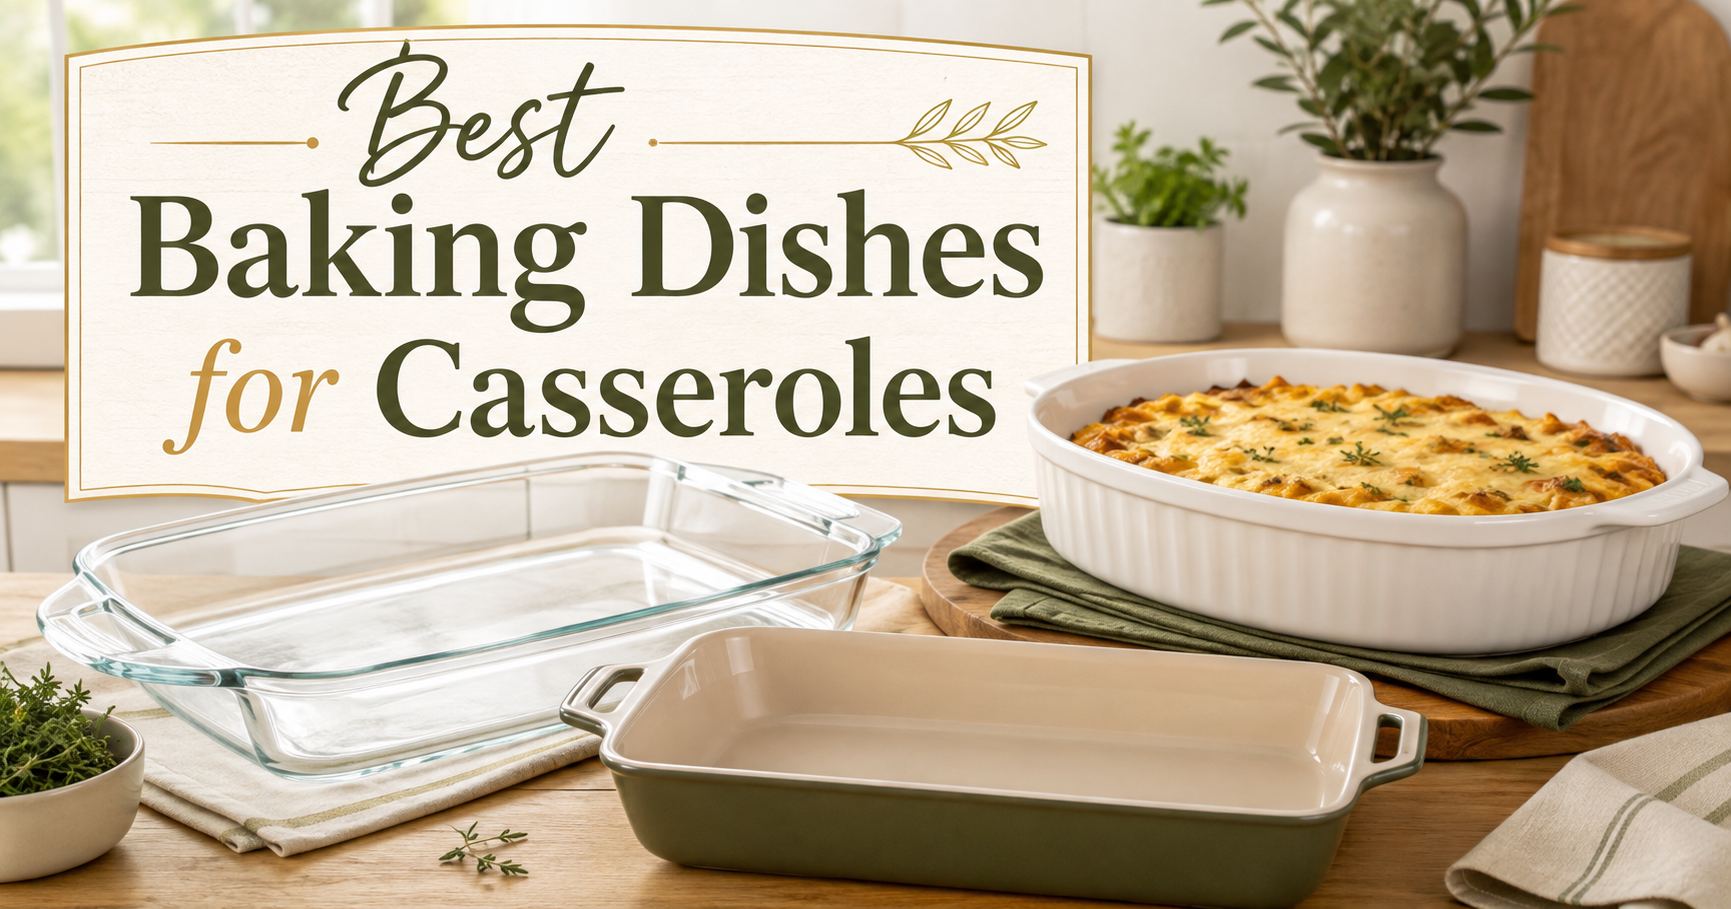
Best Baking Dishes for Casseroles
Compare dependable baking dishes for casseroles, rice bakes, biscuit bakes, desserts, and family meals.

Best Air Fryers for Beginner Cooks
Find a beginner-friendly air fryer for crispy foods, quick dinners, reheating leftovers, and smaller meals.
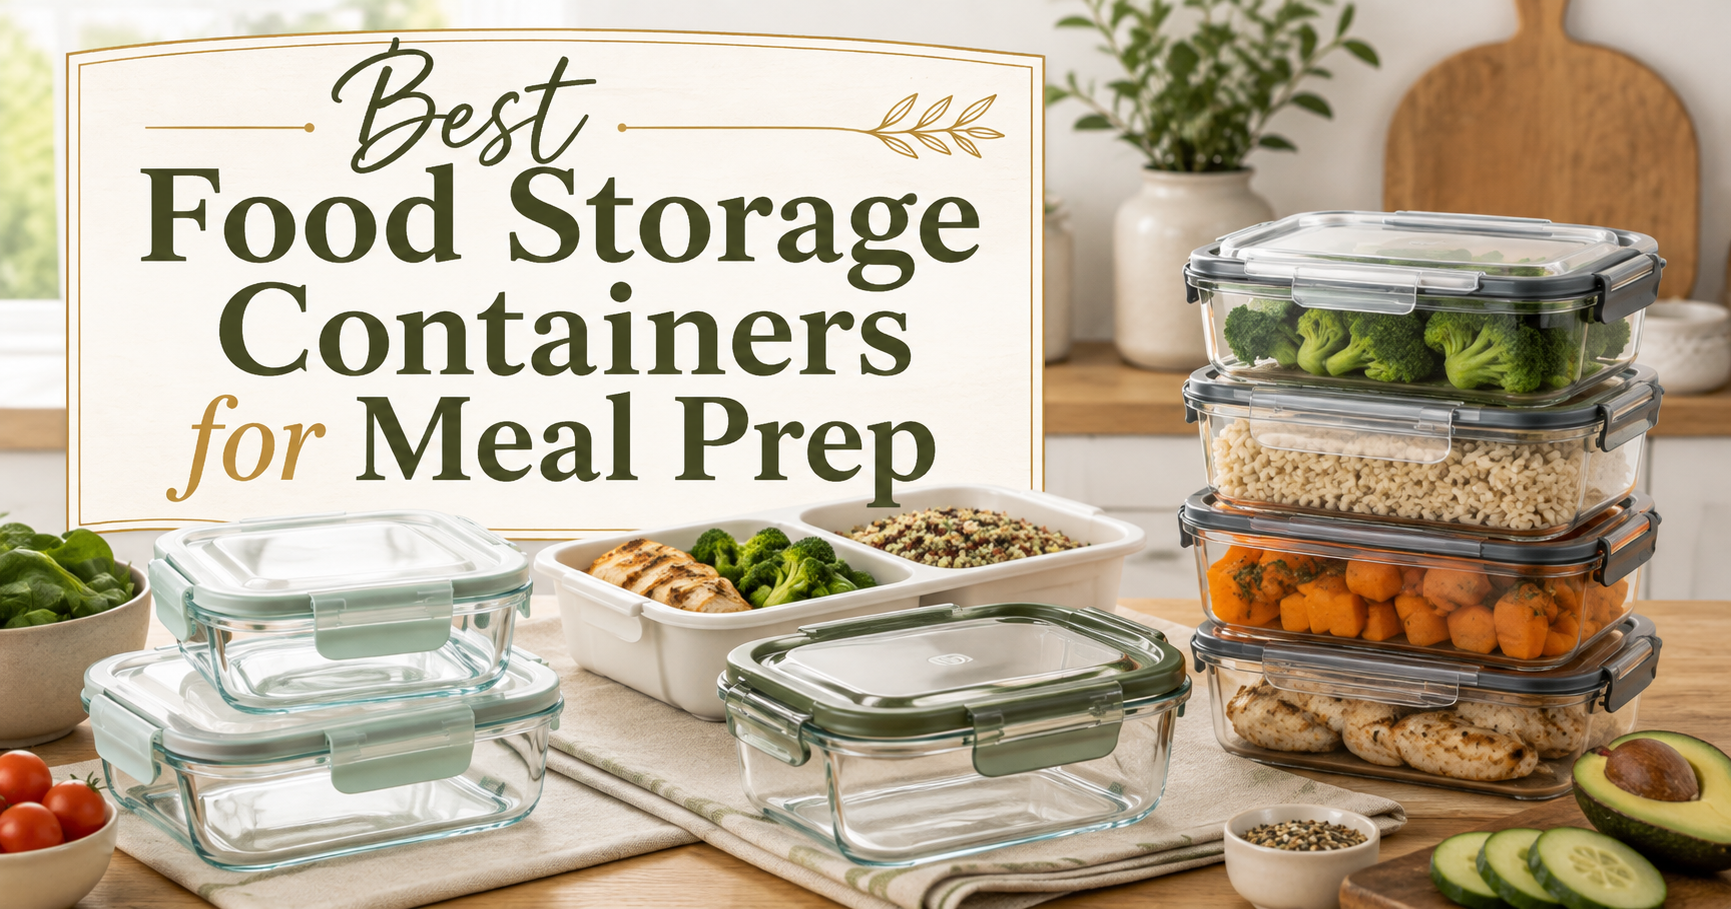
Best Food Storage Containers for Meal Prep
Store leftovers, lunches, freezer meals, and weekly meal-prep portions more neatly.

Featured Kitchen Pick
Explore another practical kitchen pick that can make everyday cooking and food preparation easier.
Storage and Reheating
Let leftover dinner rolls cool completely before storing them. Keep them in an airtight container or tightly sealed bag at room temperature and enjoy them within a few days for the best texture.
For longer storage, freeze the completely cooled rolls in a freezer-safe container or bag. You can freeze them individually so it is easy to remove only the number you need.
To reheat, warm the rolls briefly in a low oven until heated through. Individual rolls can also be warmed for a few seconds in the microwave. A light brush of butter before serving can help recreate that fresh-from-the-oven finish.
Food Safety Note
Do not taste unbaked dinner-roll dough. Both raw flour and raw eggs may contain harmful germs. Wash your hands as well as bowls, utensils, and work surfaces after they come into contact with raw dough, flour, or egg.
Common Mistakes
Adding Too Much Flour
This is one of the most common reasons homemade rolls become dense. The dough does not need to feel completely dry. Keep it soft and add additional flour gradually only when truly necessary.
Using Milk That Is Too Hot
Warm milk is helpful, but excessively hot milk can damage the yeast. Aim for pleasantly warm liquid rather than anything close to simmering.
Not Kneading Long Enough
A dough that has not developed enough structure may struggle to hold the air produced during rising. Continue kneading until the dough looks smooth and feels elastic.
Rushing the Rise
The dough needs enough time to become light and airy. A cool kitchen may require a longer rise than the estimated time in the recipe.
Adding Too Much Flour During Shaping
Heavy flouring can make the exterior of the rolls dry and prevent the dough from sealing neatly underneath. Use only a very light dusting if necessary.
Overbaking the Rolls
Dinner rolls do not need a dark, crusty exterior. Remove them once the tops are nicely golden and the centers are fully baked so the interior stays tender.
Frequently Asked Questions
Can I make these dinner rolls without a stand mixer?
Yes. Mix the dough with a sturdy spoon and then knead it by hand on a lightly floured work surface until smooth and elastic. A stand mixer is convenient but not required.
Can I use active dry yeast instead of instant yeast?
Yes. Use the same amount, but dissolve active dry yeast in the warm milk with a small amount of the sugar before mixing the dough. Let it stand briefly until it shows signs of activity.
Why are my homemade dinner rolls dense?
Too much flour, insufficient kneading, inactive yeast, or shortening either rising period can produce dense rolls. The dough should remain soft and should be visibly puffy before baking.
Can I use bread flour?
Yes. Bread flour works well, although the rolls may have a slightly chewier texture because of its higher protein content.
How do I know when the rolls have risen enough?
After shaping, the rolls should look significantly fuller and feel light and puffy. They will often begin touching one another in the baking dish as the second rise progresses.
Can I prepare the rolls ahead of time?
Yes. For an overnight option, shape the rolls, arrange them in the baking dish, cover tightly, and refrigerate. The next day, allow them to warm and become properly puffy before baking. Because cold dough rises slowly, judge readiness by appearance rather than relying on a fixed amount of time.
How can I make the tops extra soft?
Brush the rolls generously with melted butter immediately after baking. You can also loosely cover the warm rolls with a clean kitchen towel for a few minutes while they cool.
Can I freeze homemade dinner rolls?
Yes. Cool them completely before placing them in an airtight freezer-safe container. Reheat the thawed rolls gently before serving for the best texture.
Final Notes
Soft Homemade Dinner Rolls are worth learning because they work for everything from an ordinary family dinner to a full holiday spread. The dough is simple enough for newer bread bakers while still producing the buttery, fluffy texture everyone expects from a classic homemade roll.
Keep the dough soft, give both rises enough time, and brush the golden rolls with melted butter as soon as they leave the oven. Serve them warm and watch how quickly the basket empties.
Trusted Resources
Helpful Recipe Resources
Trusted Food, Cooking, and Recipe References
Mistakenly Delicious uses AI-assisted workflows, but useful recipes still need common sense, food safety checks, and reliable cooking references. These resources can help with ingredients, nutrition, safe temperatures, and the AI workflow behind this site.
Ingredient Data
USDA FoodData Central
A useful reference for checking ingredient and nutrition data when reviewing recipes.
Visit Resource →Cooking Help
Nutrition.gov Cooking Tips
Beginner-friendly guidance for meal prep, cooking basics, shopping, and planning.
Visit Resource →Food Safety
Safe Cooking Temperatures
A helpful food safety chart for checking safe internal temperatures for chicken, meat, seafood, and leftovers.
Visit Resource →Creator Workflow
TechnofluxAI
The AI workflow and creator systems site behind Mistakenly Delicious.
Visit TechnofluxAI →