Beginner-Friendly Recipe
Homemade White Sandwich Bread
A practical, beginner-friendly homemade white sandwich bread recipe with clear steps, useful substitutions, and dependable storage tips.
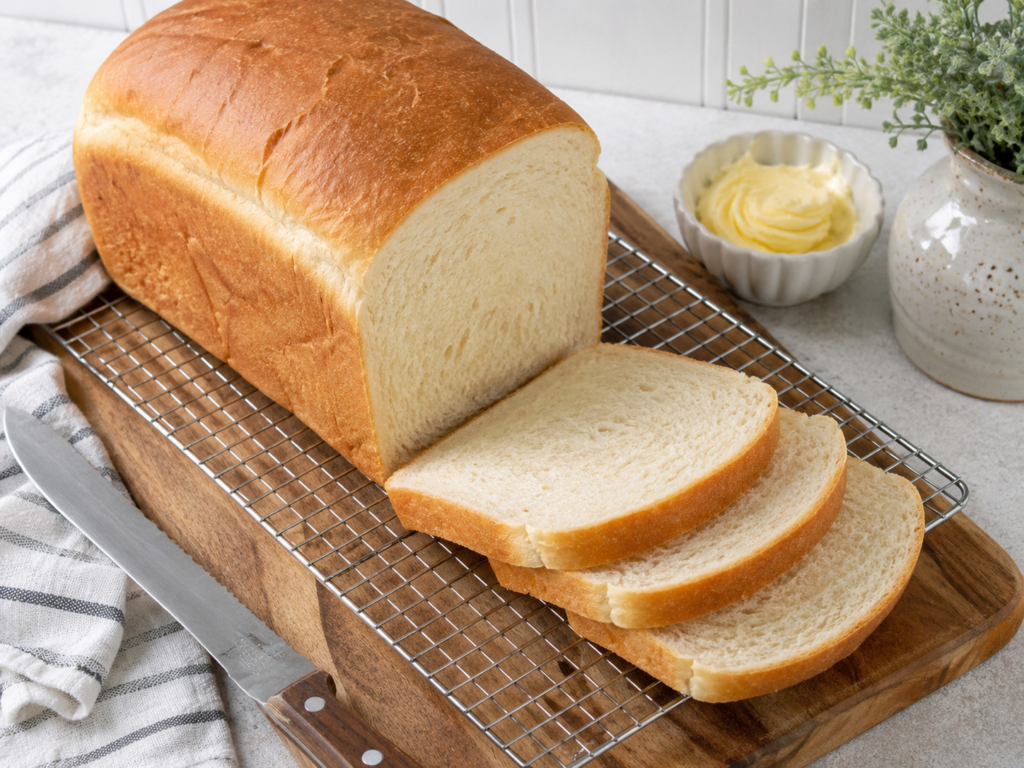
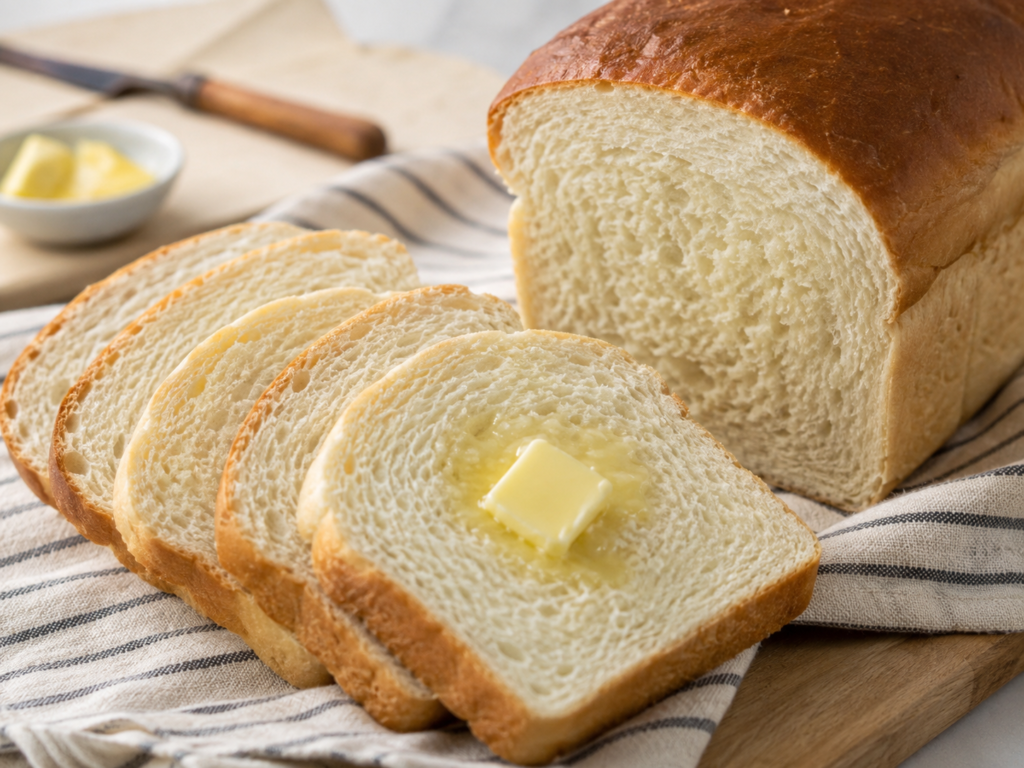
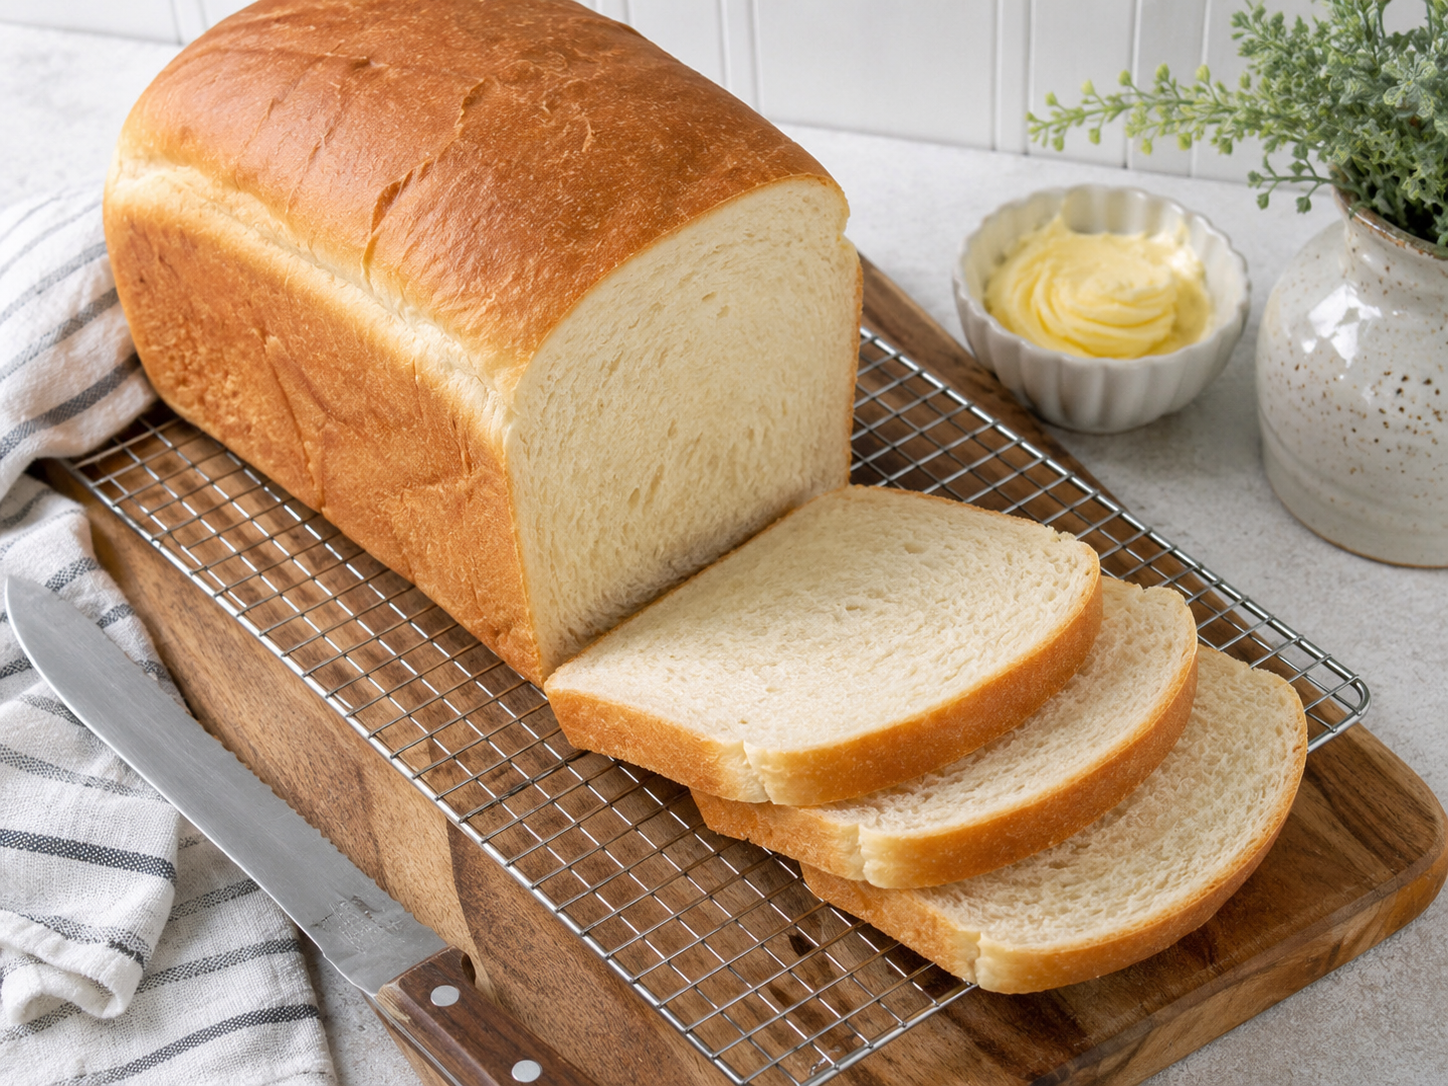
There is nothing quite like pulling a loaf of homemade white sandwich bread from the oven. This simple loaf has a soft, fluffy center, a lightly golden crust, and just enough richness from milk and butter to make every slice tender. It is sturdy enough for sandwiches but soft enough for toast, grilled cheese, or a warm slice spread with butter.
If homemade yeast bread feels intimidating, this is a great place to start. The dough uses familiar ingredients and relies more on visual cues than perfect timing, so you can learn what properly risen bread dough should actually look and feel like.
Mistakenly Smart Note
Watch the dough instead of the clock. Rising times can change depending on room temperature, flour, and yeast activity. A properly risen dough should look noticeably expanded, soft, and airy rather than simply reaching a specific number of minutes.
Quick Answer
Homemade white sandwich bread is a soft yeast bread made with flour, milk, water, butter, sugar, salt, and yeast. After kneading, the dough rises twice before baking in a loaf pan. The result is a tender, sliceable loaf that works especially well for sandwiches and toast.
Ingredients Overview
This bread uses a short list of everyday baking ingredients. Flour gives the loaf its structure, while milk and butter help create the soft crumb that makes sandwich bread different from a crusty artisan loaf.
- All-purpose flour: Creates a soft loaf while providing enough structure for a good rise.
- Milk: Adds tenderness, flavor, and a slightly richer crumb.
- Water: Helps hydrate the flour without making the loaf overly rich.
- Yeast: Gives the dough its rise and light texture.
- Sugar: Adds mild sweetness and rounds out the flavor.
- Butter: Keeps the crumb tender and gives the bread a classic sandwich-loaf texture.
- Salt: Balances the flavor and helps control the yeast fermentation.
Print this page for your shopping list
Why This Recipe Works
- Milk and butter keep it soft. The enriched dough produces a finer, more tender crumb than a lean flour-and-water bread.
- A moderate amount of sugar adds balance. The loaf tastes lightly sweet without turning into dessert bread.
- Two rises create a lighter loaf. The first develops the dough while the final proof gives the shaped bread its height.
- A loaf pan supports the dough. Instead of spreading outward, the dough rises into the tall, even shape you want for sandwich slices.
- Tight shaping improves the crumb. Rolling the dough neatly before the final rise encourages an even interior without large random holes.
Tips for Soft, Fluffy Sandwich Bread
Measure the Flour Carefully
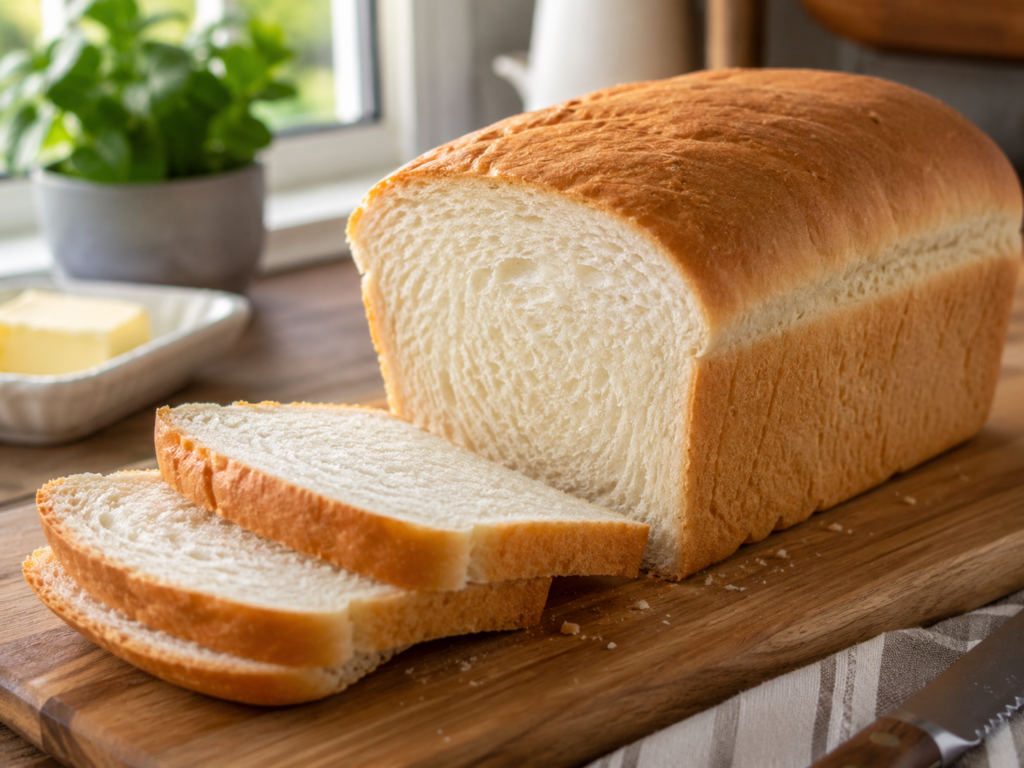
Too much flour is one of the easiest ways to turn soft sandwich bread into a heavy loaf. A kitchen scale gives the most consistent result. If measuring by cups, spoon the flour into the measuring cup and level it instead of packing it down.
Keep the Dough Soft
The finished dough should be smooth, elastic, and slightly tacky. It should not feel wet enough to stick heavily to your hands, but it also should not become stiff or dry. Resist adding extra flour unless the dough truly needs it.
Give the Gluten Time to Develop
Proper kneading helps the dough trap the gases produced by the yeast. When the dough is ready, it should become smoother and more elastic and should stretch much more easily than it did when first mixed.
Use the Rise as Your Guide
A warm kitchen can make dough rise quickly, while a cool kitchen may add considerable time. Look for visible expansion and a light, airy feel rather than treating a suggested rise time as a deadline.
Let the Bread Cool Before Slicing
The inside of the loaf continues setting as it cools. Cutting immediately can compress the crumb and make the center seem gummy. For the neatest sandwich slices, let the loaf cool completely.
Meal Ideas and Easy Swaps
This loaf works anywhere you would normally use packaged sandwich bread. Slice it for turkey or ham sandwiches, peanut butter and jelly, breakfast toast, grilled cheese, French toast, or simple bread-and-butter snacks.
For a slightly heartier loaf, replace a small portion of the white flour with whole wheat flour. Keep most of the flour white if you want to preserve the especially soft sandwich-bread texture.
Bread flour can also be used instead of all-purpose flour. It generally creates a slightly chewier, stronger crumb, while all-purpose flour keeps the loaf especially tender.
How This Recipe Comes Together
The process begins by combining the dry ingredients with the warm milk and water. Softened butter is worked into the dough as everything mixes and kneads into a smooth, elastic ball.
After the first rise, the dough is gently pressed into a rectangle and rolled into a tight loaf. That shaped dough goes into a greased loaf pan for its final proof. Once it has become noticeably puffy and risen above the edge of the pan, it is ready for the oven.
The bread bakes until golden brown and cooked through. A light brushing of melted butter after baking is optional, but it gives the crust an extra-soft finish.
Common Mistakes to Avoid
Adding Too Much Flour
A firm, dry dough usually produces a denser loaf. Keep the dough soft and slightly tacky rather than continuing to add flour until it feels completely dry.
Using Liquid That Is Too Hot
The milk and water should feel comfortably warm, not hot. Excessive heat can damage the yeast and prevent the dough from rising properly.
Under-Kneading the Dough
If the dough has not developed enough structure, the loaf may struggle to hold its rise. Knead until the dough looks smooth and elastic.
Under-Proofing
Dough that goes into the oven too early can produce a short, tight loaf. Give the shaped bread enough time to become light and puffy before baking.
Over-Proofing
Leaving the shaped loaf too long can weaken its structure and cause it to collapse or sink. Bake once the dough has risen nicely above the pan and still has some strength when gently touched.
Slicing While Hot
Fresh bread smells almost impossible to resist, but giving it time to cool produces cleaner slices and a better finished crumb.
Homemade White Sandwich Bread
Method
- Lightly grease a 9 x 5-inch loaf pan and set it aside.
- Add the flour, sugar, instant yeast, and salt to the bowl of a stand mixer or a large mixing bowl. Stir briefly to combine.
- Add the lukewarm milk, warm water, and softened butter. Mix until a shaggy dough forms and there are no large areas of dry flour remaining.
- Knead with the dough hook on medium-low speed for about 8 minutes, or knead by hand for 8 to 10 minutes. The finished dough should be smooth, elastic, and slightly tacky but should pull away cleanly from the bowl or work surface.
- Shape the dough into a ball and place it in a lightly greased bowl. Cover and let rise in a warm place for 60 to 90 minutes, or until approximately doubled in size.
- Gently deflate the risen dough and transfer it to a clean work surface. Press or roll it into a rectangle roughly 8 inches wide and 12 inches long.
- Starting from one short end, roll the dough tightly into a log. Pinch the final seam closed and tuck the ends underneath if necessary.
- Place the loaf seam-side down in the prepared pan. Cover loosely and let rise for 45 to 75 minutes, or until the dough is puffy and the center of the loaf has risen about 1 inch above the rim of the pan.
- Near the end of the rising time, preheat the oven to 350°F.
- Bake for 30 to 35 minutes, until the loaf is deep golden brown and the center reaches about 190°F on an instant-read thermometer. If the top is browning too quickly, loosely tent it with foil during the final 10 minutes.
- Remove the bread from the oven and let it sit in the pan for about 10 minutes. Turn the loaf onto a wire rack.
- Brush the warm crust with melted butter, if desired, for an extra-soft finish.
- Cool completely before slicing for the cleanest sandwich slices.
Notes
Tried this recipe?
Let us know how it was!Nutrition Information Disclaimer
Nutrition information is provided as an estimate only and may vary based on the ingredients, brands, portion sizes, substitutions, and preparation methods used. Optional toppings and serving suggestions may not be included in the calculation. For the most accurate information, calculate nutrition using the specific ingredients and amounts you use.
Allergy notice: Always check ingredient labels and avoid substitutions that may introduce allergens. This recipe has not been verified as allergen-free.
Mistakenly Delicious Kitchen Picks
Helpful Kitchen Tools for Easier Cooking
These beginner-friendly guides and kitchen picks can make cooking, baking, food-safety checks, and meal prep easier.
Affiliate disclosure: This section contains Amazon affiliate links. As an Amazon Associate, I earn from qualifying purchases at no additional cost to you.

Essential Kitchen Tools for Beginner Cooks
Start with practical everyday tools instead of filling your kitchen with gadgets you may rarely use.

Best Affordable Meat Thermometers
Check chicken, burgers, roasts, and other foods without guessing whether the center is fully cooked.

Best Baking Dishes for Casseroles
Compare dependable baking dishes for casseroles, rice bakes, biscuit bakes, desserts, and family meals.

Best Air Fryers for Beginner Cooks
Find a beginner-friendly air fryer for crispy foods, quick dinners, reheating leftovers, and smaller meals.

Best Food Storage Containers for Meal Prep
Store leftovers, lunches, freezer meals, and weekly meal-prep portions more neatly.

Featured Kitchen Pick
Explore another practical kitchen pick that can make everyday cooking and food preparation easier.
Tips for Soft, Fluffy Sandwich Bread
Measure the Flour Carefully
Too much flour is one of the easiest ways to turn soft sandwich bread into a heavy loaf. A kitchen scale gives the most consistent result. If measuring by cups, spoon the flour into the measuring cup and level it instead of packing it down.
Keep the Dough Soft
The finished dough should be smooth, elastic, and slightly tacky. It should not feel wet enough to stick heavily to your hands, but it also should not become stiff or dry. Resist adding extra flour unless the dough truly needs it.
Give the Gluten Time to Develop
Proper kneading helps the dough trap the gases produced by the yeast. When the dough is ready, it should become smoother and more elastic and should stretch much more easily than it did when first mixed.
Use the Rise as Your Guide
A warm kitchen can make dough rise quickly, while a cool kitchen may add considerable time. Look for visible expansion and a light, airy feel rather than treating a suggested rise time as a deadline.
Let the Bread Cool Before Slicing
The inside of the loaf continues setting as it cools. Cutting immediately can compress the crumb and make the center seem gummy. For the neatest sandwich slices, let the loaf cool completely.
Meal Ideas and Easy Swaps
This loaf works anywhere you would normally use packaged sandwich bread. Slice it for turkey or ham sandwiches, peanut butter and jelly, breakfast toast, grilled cheese, French toast, or simple bread-and-butter snacks.
For a slightly heartier loaf, replace a small portion of the white flour with whole wheat flour. Keep most of the flour white if you want to preserve the especially soft sandwich-bread texture.
Bread flour can also be used instead of all-purpose flour. It generally creates a slightly chewier, stronger crumb, while all-purpose flour keeps the loaf especially tender.
How This Recipe Comes Together
The process begins by combining the dry ingredients with the warm milk and water. Softened butter is worked into the dough as everything mixes and kneads into a smooth, elastic ball.
After the first rise, the dough is gently pressed into a rectangle and rolled into a tight loaf. That shaped dough goes into a greased loaf pan for its final proof. Once it has become noticeably puffy and risen above the edge of the pan, it is ready for the oven.
The bread bakes until golden brown and cooked through. A light brushing of melted butter after baking is optional, but it gives the crust an extra-soft finish.
Common Mistakes to Avoid
Adding Too Much Flour
A firm, dry dough usually produces a denser loaf. Keep the dough soft and slightly tacky rather than continuing to add flour until it feels completely dry.
Using Liquid That Is Too Hot
The milk and water should feel comfortably warm, not hot. Excessive heat can damage the yeast and prevent the dough from rising properly.
Under-Kneading the Dough
If the dough has not developed enough structure, the loaf may struggle to hold its rise. Knead until the dough looks smooth and elastic.
Under-Proofing
Dough that goes into the oven too early can produce a short, tight loaf. Give the shaped bread enough time to become light and puffy before baking.
Over-Proofing
Leaving the shaped loaf too long can weaken its structure and cause it to collapse or sink. Bake once the dough has risen nicely above the pan and still has some strength when gently touched.
Slicing While Hot
Fresh bread smells almost impossible to resist, but giving it time to cool produces cleaner slices and a better finished crumb.
Helpful Recipe Resources
Trusted Food, Cooking, and Recipe References
Mistakenly Delicious uses AI-assisted workflows, but useful recipes still need common sense, food safety checks, and reliable cooking references. These resources can help with ingredients, nutrition, safe temperatures, and the AI workflow behind this site.
Ingredient Data
USDA FoodData Central
A useful reference for checking ingredient and nutrition data when reviewing recipes.
Visit Resource →Cooking Help
Nutrition.gov Cooking Tips
Beginner-friendly guidance for meal prep, cooking basics, shopping, and planning.
Visit Resource →Food Safety
Safe Cooking Temperatures
A helpful food safety chart for checking safe internal temperatures for chicken, meat, seafood, and leftovers.
Visit Resource →Creator Workflow
TechnofluxAI
The AI workflow and creator systems site behind Mistakenly Delicious.
Visit TechnofluxAI →