Beginner-Friendly Recipe
Classic Beef Stew
A practical, beginner-friendly classic beef stew recipe with clear steps, useful substitutions, and dependable storage tips.
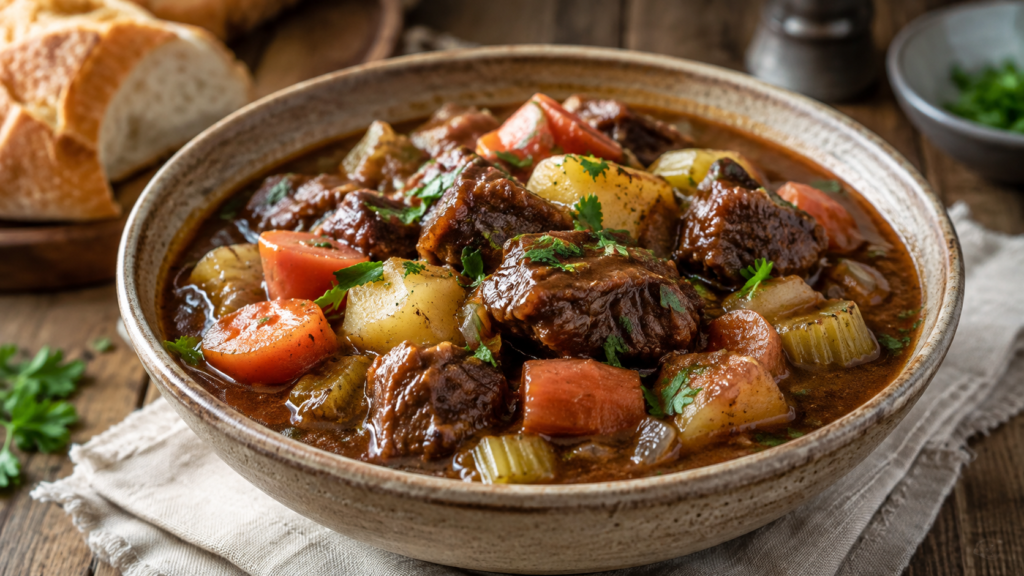
Classic Beef Stew is everything a comforting homemade dinner should be: tender pieces of beef, hearty potatoes, carrots, and vegetables simmered slowly in a rich, savory broth. It is a dependable one-pot meal for chilly evenings, Sunday dinners, or any night when you want something warm and satisfying.
The key to a deeply flavorful stew is not complicated. Browning the beef first, cooking the tomato paste briefly, scraping up the browned bits from the pot, and giving the beef enough time to simmer all make a noticeable difference. The result is a thick, flavorful broth and beef that becomes fork-tender instead of chewy.
Mistakenly Smart Note
Do not rush the browning step. Working in batches keeps the beef from steaming in its own moisture. Those dark browned bits left on the bottom of the pot become part of the stew’s flavor once you add liquid and scrape them into the broth.
Quick Answer
Classic Beef Stew is made by browning chunks of beef and slowly simmering them with onions, garlic, tomato paste, beef broth, potatoes, carrots, herbs, and seasonings. The long, gentle cooking time softens the beef while creating a rich broth that naturally thickens as the stew cooks.
Plan on about 25 minutes of preparation and 2 hours of cooking. Most of the cooking time is hands-off while the beef slowly becomes tender.
Jump to the printable recipe and shopping list.
Ingredients Overview
Beef chuck is an excellent choice for stew because its connective tissue softens during slow cooking. It may seem firm early in the process, but given enough gentle simmering time, it becomes tender and flavorful.
Potatoes and carrots give the stew its familiar hearty texture. Yukon Gold potatoes hold their shape well while still becoming creamy inside, although other waxy or all-purpose potatoes can also work.
Onion, celery, garlic, and tomato paste create the savory foundation. Cooking the tomato paste briefly before adding the liquid helps deepen its flavor.
Beef broth, Worcestershire sauce, thyme, and bay leaves build the broth. A splash of dry red wine can also be used for additional depth, or it can simply be replaced with more beef broth.
Frozen peas are added near the end so they stay bright and tender rather than becoming overly soft during the long simmer.
Why This Classic Beef Stew Works
The recipe builds flavor in layers instead of putting everything into the pot at once. The beef is browned first, creating a caramelized exterior and leaving flavorful browned bits behind.
The onions and aromatics are then cooked in the same pot. Tomato paste gets a brief cooking period before the broth is added, and the bottom of the pot is scraped so none of that concentrated flavor is wasted.
The beef gets a head start on simmering before the potatoes and carrots are added. This matters because the beef needs considerably more time to become tender than the vegetables need to cook through.
By adding the vegetables later, you get tender beef without turning the potatoes and carrots into mush. The small amount of flour used on the beef also helps give the broth body as the stew simmers.
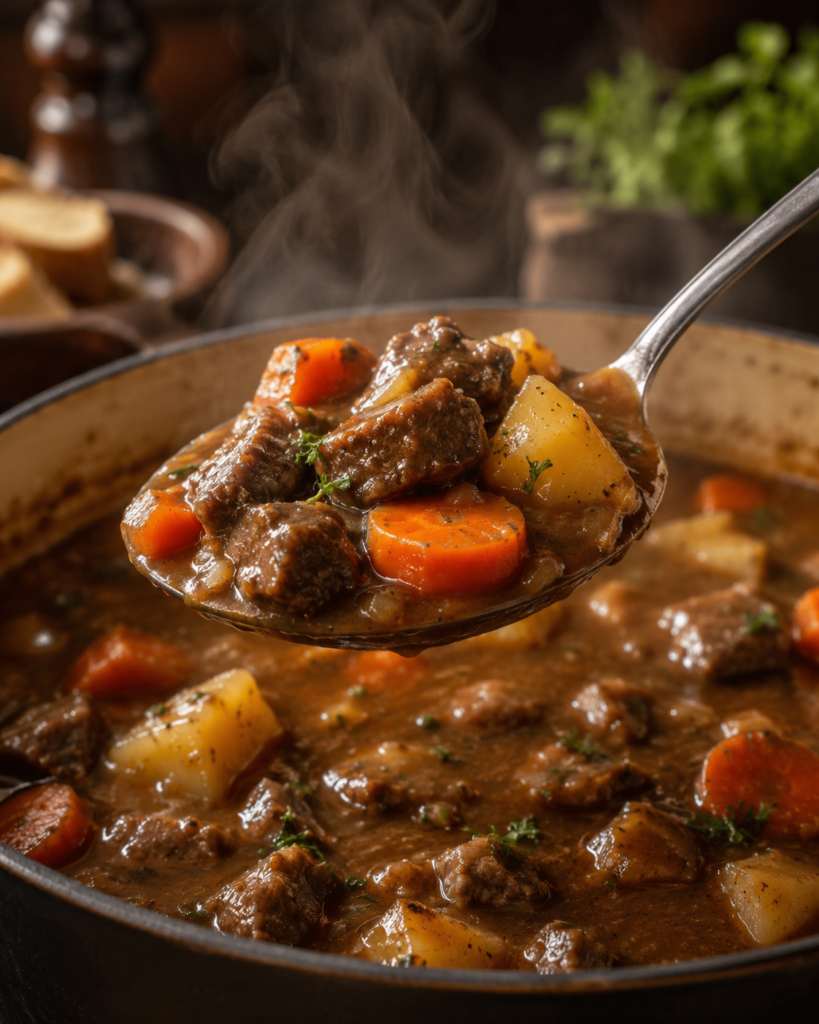
Tips for the Best Classic Beef Stew
Dry the beef before browning
Patting the beef dry helps the surface brown more efficiently. Excess moisture encourages steaming, which prevents the deep brown crust that adds flavor to the finished stew.
Brown the beef in batches
Give the pieces enough room in the pot to make direct contact with the hot surface. Crowding the pot lowers the temperature and causes liquid to collect around the meat.
Keep the stew at a gentle simmer
A hard boil does not make the beef tender faster. Gentle cooking gives the connective tissue time to soften while reducing the chance of the meat becoming dry around the edges.
Add the potatoes and carrots later
The beef needs more cooking time than the vegetables. Letting the meat simmer first helps both components reach the right texture at roughly the same time.
Wait before deciding the broth is too thin
The stew thickens as it cooks. If the broth still seems thin once the beef and vegetables are tender, remove the lid and simmer for several additional minutes before adding any extra thickener.
Meal Ideas and Easy Swaps
Classic Beef Stew is hearty enough to serve on its own, but a few simple sides can turn it into an especially comforting dinner.
Serve it with crusty bread
A warm loaf, dinner rolls, or garlic bread is ideal for soaking up the rich broth left at the bottom of the bowl.
Add a simple green salad
A crisp salad with a tangy vinaigrette provides a fresh contrast to the slow-cooked beef and potatoes.
Skip the wine
If you do not want to cook with wine, simply replace it with an equal amount of additional beef broth. The stew will still have plenty of savory flavor from the browned beef, tomato paste, aromatics, and Worcestershire sauce.
Try different root vegetables
Parsnips or rutabaga can replace part of the carrots or potatoes. Cut them into similar-size pieces so they cook evenly.
Add mushrooms
Brown sliced mushrooms after the beef and before cooking the onion. Browning them separately helps concentrate their flavor instead of simply steaming them in the stew.
How This Classic Beef Stew Comes Together
Start by cutting the beef into similar-size pieces, drying it thoroughly, and seasoning it. A light coating of flour helps with browning and contributes to the body of the broth later.
Heat a heavy Dutch oven or large pot and brown the beef in batches. Transfer each batch to a plate instead of trying to cook all the beef at once.
Next, soften the onion and celery in the same pot. Add garlic and tomato paste and cook them briefly until fragrant. If using wine, add it at this stage and scrape the bottom of the pot to loosen the browned bits.
Return the beef to the pot with the broth, Worcestershire sauce, thyme, and bay leaves. Keep the liquid at a gentle simmer and allow the beef to cook until it has started to soften.
Add the potatoes and carrots later in the cooking process. Continue simmering until both the vegetables and beef are tender. Frozen peas go in during the final few minutes.
Before serving, remove the bay leaves and taste the broth. Adjust the salt and pepper as needed, then allow the stew to sit for a few minutes so the flavors and texture can settle before ladling it into bowls.
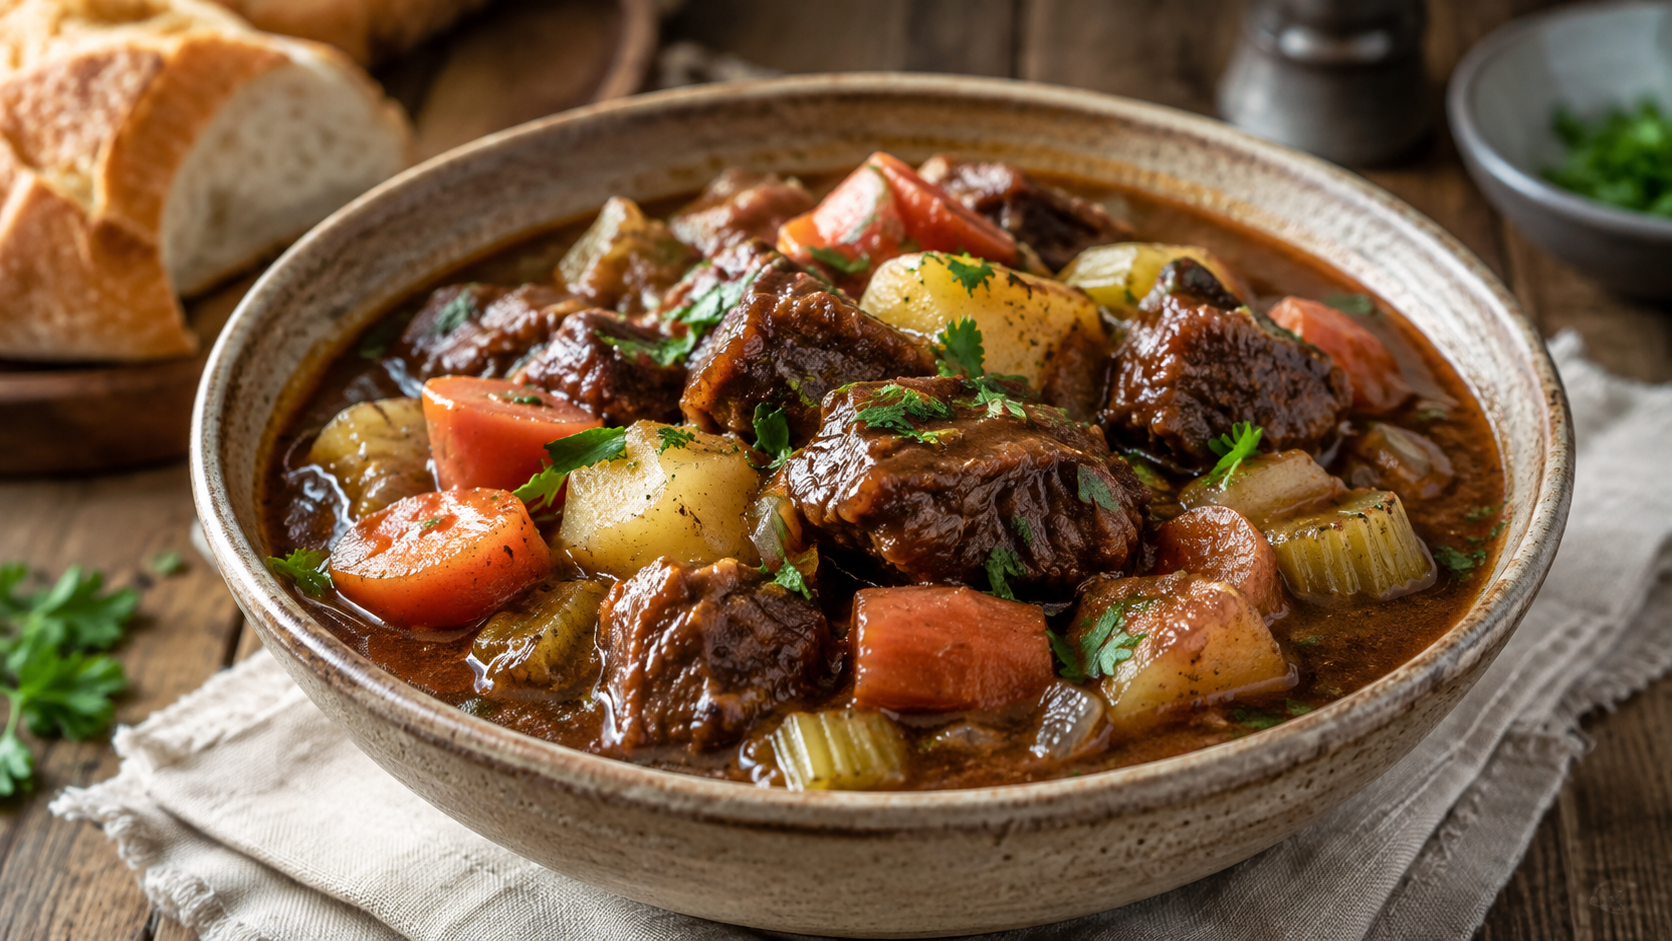
Classic Beef Stew
Method
- Pat the beef dry with paper towels. Season with 1 teaspoon salt and the black pepper, then toss the beef with the flour until lightly coated.
- Heat 1 tablespoon olive oil in a large Dutch oven over medium-high heat. Brown the beef in batches, adding more oil as needed. Avoid crowding the pot. Cook each batch until deeply browned on several sides, then transfer to a plate.
- Reduce the heat to medium. Add the remaining oil as needed, followed by the onion and celery. Cook for about 5 minutes, stirring occasionally, until they begin to soften.
- Add the garlic and tomato paste. Cook for about 1 minute, stirring constantly.
- Pour in the red wine, if using, and scrape the browned bits from the bottom of the pot. Simmer for 2 to 3 minutes. If omitting the wine, use 1 cup additional beef broth instead.
- Add the 4 cups beef broth, Worcestershire sauce, thyme, bay leaves, and browned beef with any accumulated juices. Bring to a gentle simmer.
- Reduce the heat to low, cover, and simmer gently for about 1 hour 15 minutes.
- Add the potatoes and carrots. Cover and continue simmering for 35 to 45 minutes, or until the beef is fork-tender and the vegetables are cooked through.
- Stir in the frozen peas and cook uncovered for about 5 minutes.
- If you prefer a thicker stew, continue simmering uncovered for another 5 to 15 minutes. Remove the bay leaves.
- Taste and season with the remaining salt or additional black pepper as needed. Sprinkle with fresh parsley before serving, if desired.
Notes
Brown the meat in batches for deeper flavor.
Replace the wine with an equal amount of beef broth if preferred.
Cut potatoes and carrots into substantial pieces so they hold their shape.
If the beef is still tough, continue simmering gently until fork-tender.
Refrigerate leftovers promptly and use within 3 to 4 days.
Reheat leftovers thoroughly to 165 degrees F. USDA guidance supports both the 3-to-4-day refrigerated leftover window and 165 degrees F reheating temperature.
Tried this recipe?
Let us know how it was!Nutrition Information Disclaimer
Nutrition information is provided as an estimate only and may vary based on the ingredients, brands, portion sizes, substitutions, and preparation methods used. Optional toppings and serving suggestions may not be included in the calculation. For the most accurate information, calculate nutrition using the specific ingredients and amounts you use.
Allergy notice: Always check ingredient labels and avoid substitutions that may introduce allergens. This recipe has not been verified as allergen-free.
Mistakenly Delicious Kitchen Picks
Helpful Kitchen Tools for Easier Cooking
These beginner-friendly guides and kitchen picks can make cooking, baking, food-safety checks, and meal prep easier.
Affiliate disclosure: This section contains Amazon affiliate links. As an Amazon Associate, I earn from qualifying purchases at no additional cost to you.
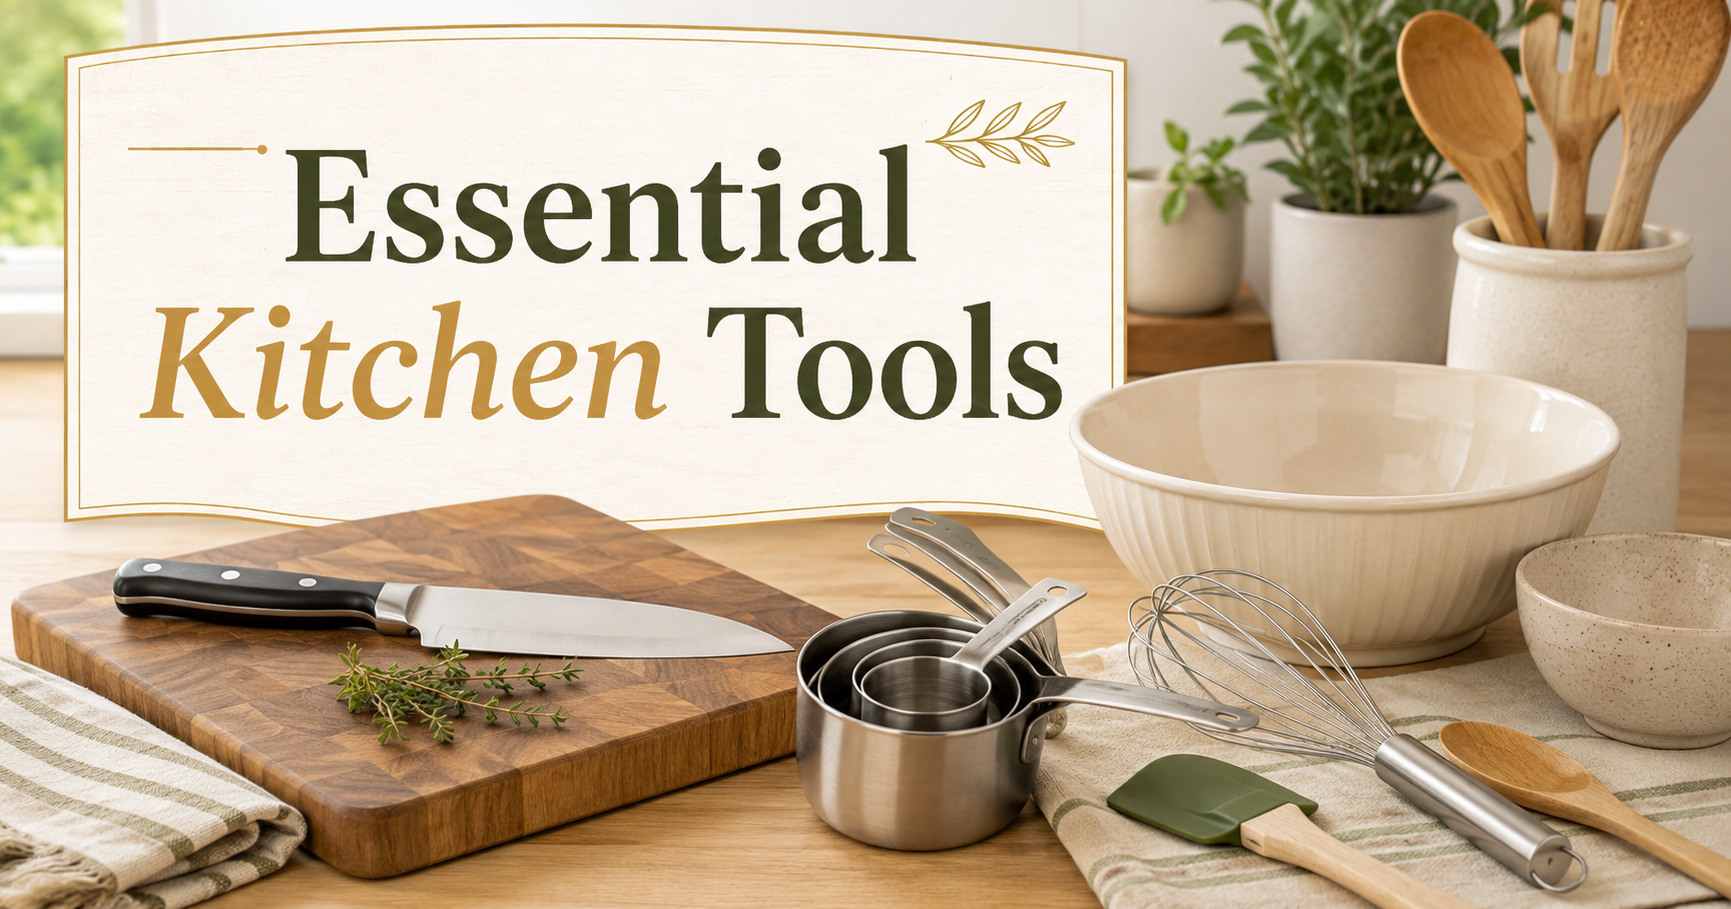
Essential Kitchen Tools for Beginner Cooks
Start with practical everyday tools instead of filling your kitchen with gadgets you may rarely use.

Best Affordable Meat Thermometers
Check chicken, burgers, roasts, and other foods without guessing whether the center is fully cooked.

Best Baking Dishes for Casseroles
Compare dependable baking dishes for casseroles, rice bakes, biscuit bakes, desserts, and family meals.

Best Air Fryers for Beginner Cooks
Find a beginner-friendly air fryer for crispy foods, quick dinners, reheating leftovers, and smaller meals.

Best Food Storage Containers for Meal Prep
Store leftovers, lunches, freezer meals, and weekly meal-prep portions more neatly.

Featured Kitchen Pick
Explore another practical kitchen pick that can make everyday cooking and food preparation easier.
Storage and Reheating
Allow leftover beef stew to cool slightly, then transfer it to shallow covered containers and refrigerate it promptly. Properly refrigerated leftovers should be used within 3 to 4 days.
The stew often tastes even richer the next day because the flavors have additional time to mingle. The broth may also thicken considerably once chilled.
Reheat individual portions in the microwave or warm larger portions gently in a saucepan over medium-low heat. Add a splash of beef broth or water if the refrigerated stew has become thicker than you prefer.
Beef stew can also be frozen for longer storage. Keep in mind that potatoes can become softer or slightly grainy after freezing and thawing, although the stew will still be suitable for reheating.
Food Safety Note
Keep raw beef and its juices away from foods that will be eaten without further cooking, and wash utensils and surfaces after they contact raw meat.
USDA guidance lists 145 degrees F with a 3-minute rest as the minimum safe temperature for whole cuts of beef. Beef used for stew is normally cooked considerably longer because the extended simmer is what creates the fork-tender texture expected in this dish.
Refrigerate leftovers within 2 hours and use refrigerated leftovers within 3 to 4 days. When reheating leftovers, heat them thoroughly to 165 degrees F.
Common Mistakes to Avoid
Using beef that is too lean
Very lean beef can become dry during the long cooking process. Chuck is particularly useful for stew because slow, moist cooking turns it tender.
Crowding the pot while browning
If the beef pieces are packed tightly together, they release moisture faster than it can evaporate. Brown them in batches for better color and flavor.
Boiling instead of simmering
Keep the stew at a steady but gentle simmer. Vigorous boiling can cook the outside of the beef aggressively before the connective tissue has had enough time to soften.
Adding all the vegetables at the beginning
Potatoes and carrots do not need as much time as the beef. Adding them later keeps their shape and texture intact.
Stopping when the beef is still tough
If properly selected stew beef is still chewy, it often needs additional cooking time rather than higher heat. Continue simmering gently and check again after another 15 to 20 minutes.
Classic Beef Stew FAQ
What is the best cut of beef for beef stew?
Beef chuck is one of the best choices because it contains enough connective tissue and marbling to become tender during a long, gentle simmer.
Why is my beef stew meat tough?
Stew meat can remain tough if it has not cooked long enough. Cuts such as chuck need time for their connective tissue to soften. Keep the stew at a gentle simmer and continue cooking until the beef is easily pierced with a fork.
How do I thicken beef stew?
First try simmering the stew uncovered for 10 to 15 minutes. This reduces excess liquid and concentrates the flavor. The flour used when browning the beef also provides some natural thickening.
Can I make beef stew ahead of time?
Yes. Beef stew is an excellent make-ahead meal and can be prepared a day before serving. Cool it safely, refrigerate it in covered containers, and reheat thoroughly before serving.
Do I have to put wine in beef stew?
No. Dry red wine adds another layer of flavor, but it is completely optional. Replace it with the same amount of additional beef broth for an alcohol-free version.
Can you freeze beef stew?
Yes. Cool the stew before transferring it to freezer-safe containers, leaving room for expansion. Potatoes may have a softer texture after thawing, but the overall stew reheats well.
Can I make this in a slow cooker?
Yes, although browning the beef and cooking the aromatics on the stovetop first will provide more flavor. Transfer those ingredients to the slow cooker with the remaining stew ingredients and cook according to your slow cooker’s guidance until the beef and vegetables are tender.
Final Notes
A memorable Classic Beef Stew does not depend on complicated ingredients. The biggest improvements come from browning the beef properly, building flavor in the same pot, using a gentle simmer, and allowing enough time for the meat to become tender.
It is also an easy recipe to adapt. Use broth instead of wine, add mushrooms or other root vegetables, and adjust the thickness of the broth to suit your preference.
Serve it piping hot with bread, rolls, or a simple salad for a hearty dinner built around familiar ingredients and slow-cooked flavor.
Trusted Resources
- USDA Food Safety and Inspection Service – Safe Minimum Internal Temperatures
- USDA Food Safety and Inspection Service – Leftovers and Food Safety
- USDA Food Safety and Inspection Service – Safe Reheating of Leftovers
Helpful Recipe Resources
Trusted Food, Cooking, and Recipe References
Mistakenly Delicious uses AI-assisted workflows, but useful recipes still need common sense, food safety checks, and reliable cooking references. These resources can help with ingredients, nutrition, safe temperatures, and the AI workflow behind this site.
Ingredient Data
USDA FoodData Central
A useful reference for checking ingredient and nutrition data when reviewing recipes.
Visit Resource →Cooking Help
Nutrition.gov Cooking Tips
Beginner-friendly guidance for meal prep, cooking basics, shopping, and planning.
Visit Resource →Food Safety
Safe Cooking Temperatures
A helpful food safety chart for checking safe internal temperatures for chicken, meat, seafood, and leftovers.
Visit Resource →Creator Workflow
TechnofluxAI
The AI workflow and creator systems site behind Mistakenly Delicious.
Visit TechnofluxAI →